Get in touch
Account Login
Shop by Colour
Advice & Technical Details
Price Calculator
Basket
Roofing / Cladding
Roof Profiles
R1000 32/1000
RWA6 38/914
13/3 Corrugated
V/Tile 1100
V/Tile 1000
Wall Profiles
C1000
CWA6
13/3 Corrugated
V40 Bold Roll
LT1000
Tile Effect
V/Tile 1000
V/Tile 1100
Liner Profiles
LT1000
R1000 32/1000
Aluminium Profiles
Aluminium Roofing
Aluminium Cladding
Aluminium Flat Sheet
Bespoke Profiles
Bespoke Profiles
Test Menu
Bespoke Profiles
Flashing / Trims
Stock Flashing
Bespoke Flashing
Flat Sheet
Fabrication
Bespoke Profiles
Insulated Gutters
Rooflights
Stock
Bespoke
Ancillaries
Foam Fillers
Fixings / Screws
Zed Purlins & Bars
Tools & PPE
Help & Info
Roofing Calculator
Installation Help
Profile Information
Coating Information
Warranty & Guarantee
Offers
Price Calculator
Advice & Technical Details
Account login
Contact Us
Roofing / Cladding
Roof Profiles
R1000 32/1000
RWA6 38/914
13/3 Corrugated
V/Tile 1100
V/Tile 1000
Wall Profiles
C1000
CWA6
13/3 Corrugated
V40 Bold Roll
LT1000
Tile Effect
V/Tile 1000
V/Tile 1100
Liner Profiles
LT1000
R1000 32/1000
Aluminium Profiles
Aluminium Roofing
Aluminium Cladding
Aluminium Flat Sheet
Bespoke Profiles
Bespoke Profiles
Test Menu
Bespoke Profiles
Flashing / Trims
Stock Flashing
Bespoke Flashing
Flat Sheet
Fabrication
Bespoke Profiles
Insulated Gutters
Rooflights
Stock
Bespoke
Ancillaries
Foam Fillers
Fixings / Screws
Zed Purlins & Bars
Tools & PPE
Help & Info
Roofing Calculator
Installation Help
Profile Information
Coating Information
Warranty & Guarantee
Offers
Home
Advice Category
Categories
All
Installation Guide
Advice Category
Corrugated vs Box Profile Roofing Sheets: Which Is Right for Your Project?
Corrugated vs Box Profile Roofing Sheets: Which Is Right for Your Project?
If you're looking at steel roofing sheets for your next project, the two most common profiles you'll come across are
corrugated (13/3)
and
box profile (32/1000)
. Both are manufactured from galvanised steel, both can be coated in Plastisol or Polyester finishes, and both are cut to your exact length. So which one should you choose? In this guide we break down the key differences to help you make the right decision.
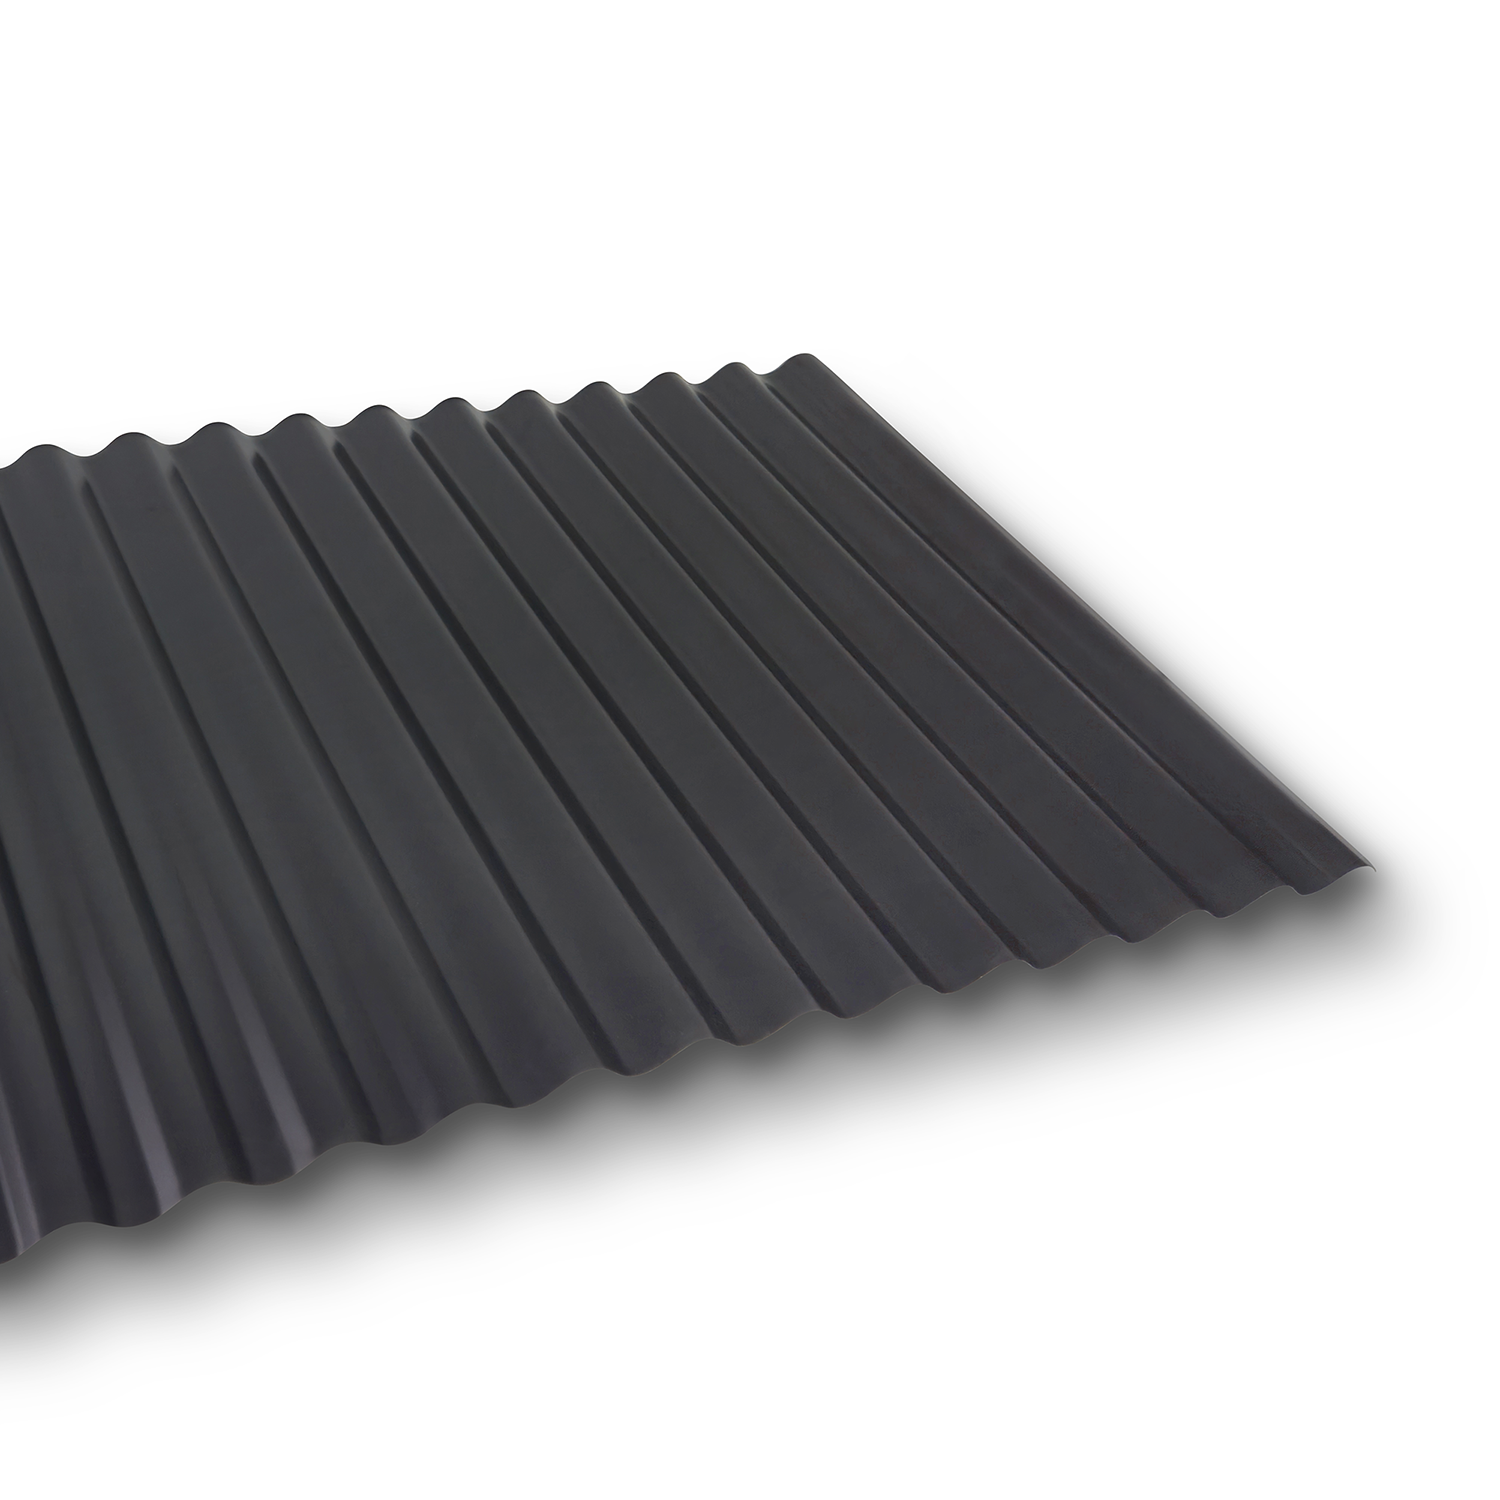
What Is Corrugated Roofing?
The 13/3 corrugated profile is one of the most recognisable roofing sheets in the UK. The name "13/3" refers to 13 corrugations across 3 feet of sheet width — a design that has been used for over a century on farms, sheds, garages and industrial buildings. Corrugated sheets have a smooth, wave-like profile that provides excellent strength-to-weight ratio and efficient water run-off. They are lightweight, easy to handle, and simple to cut and fix on site.
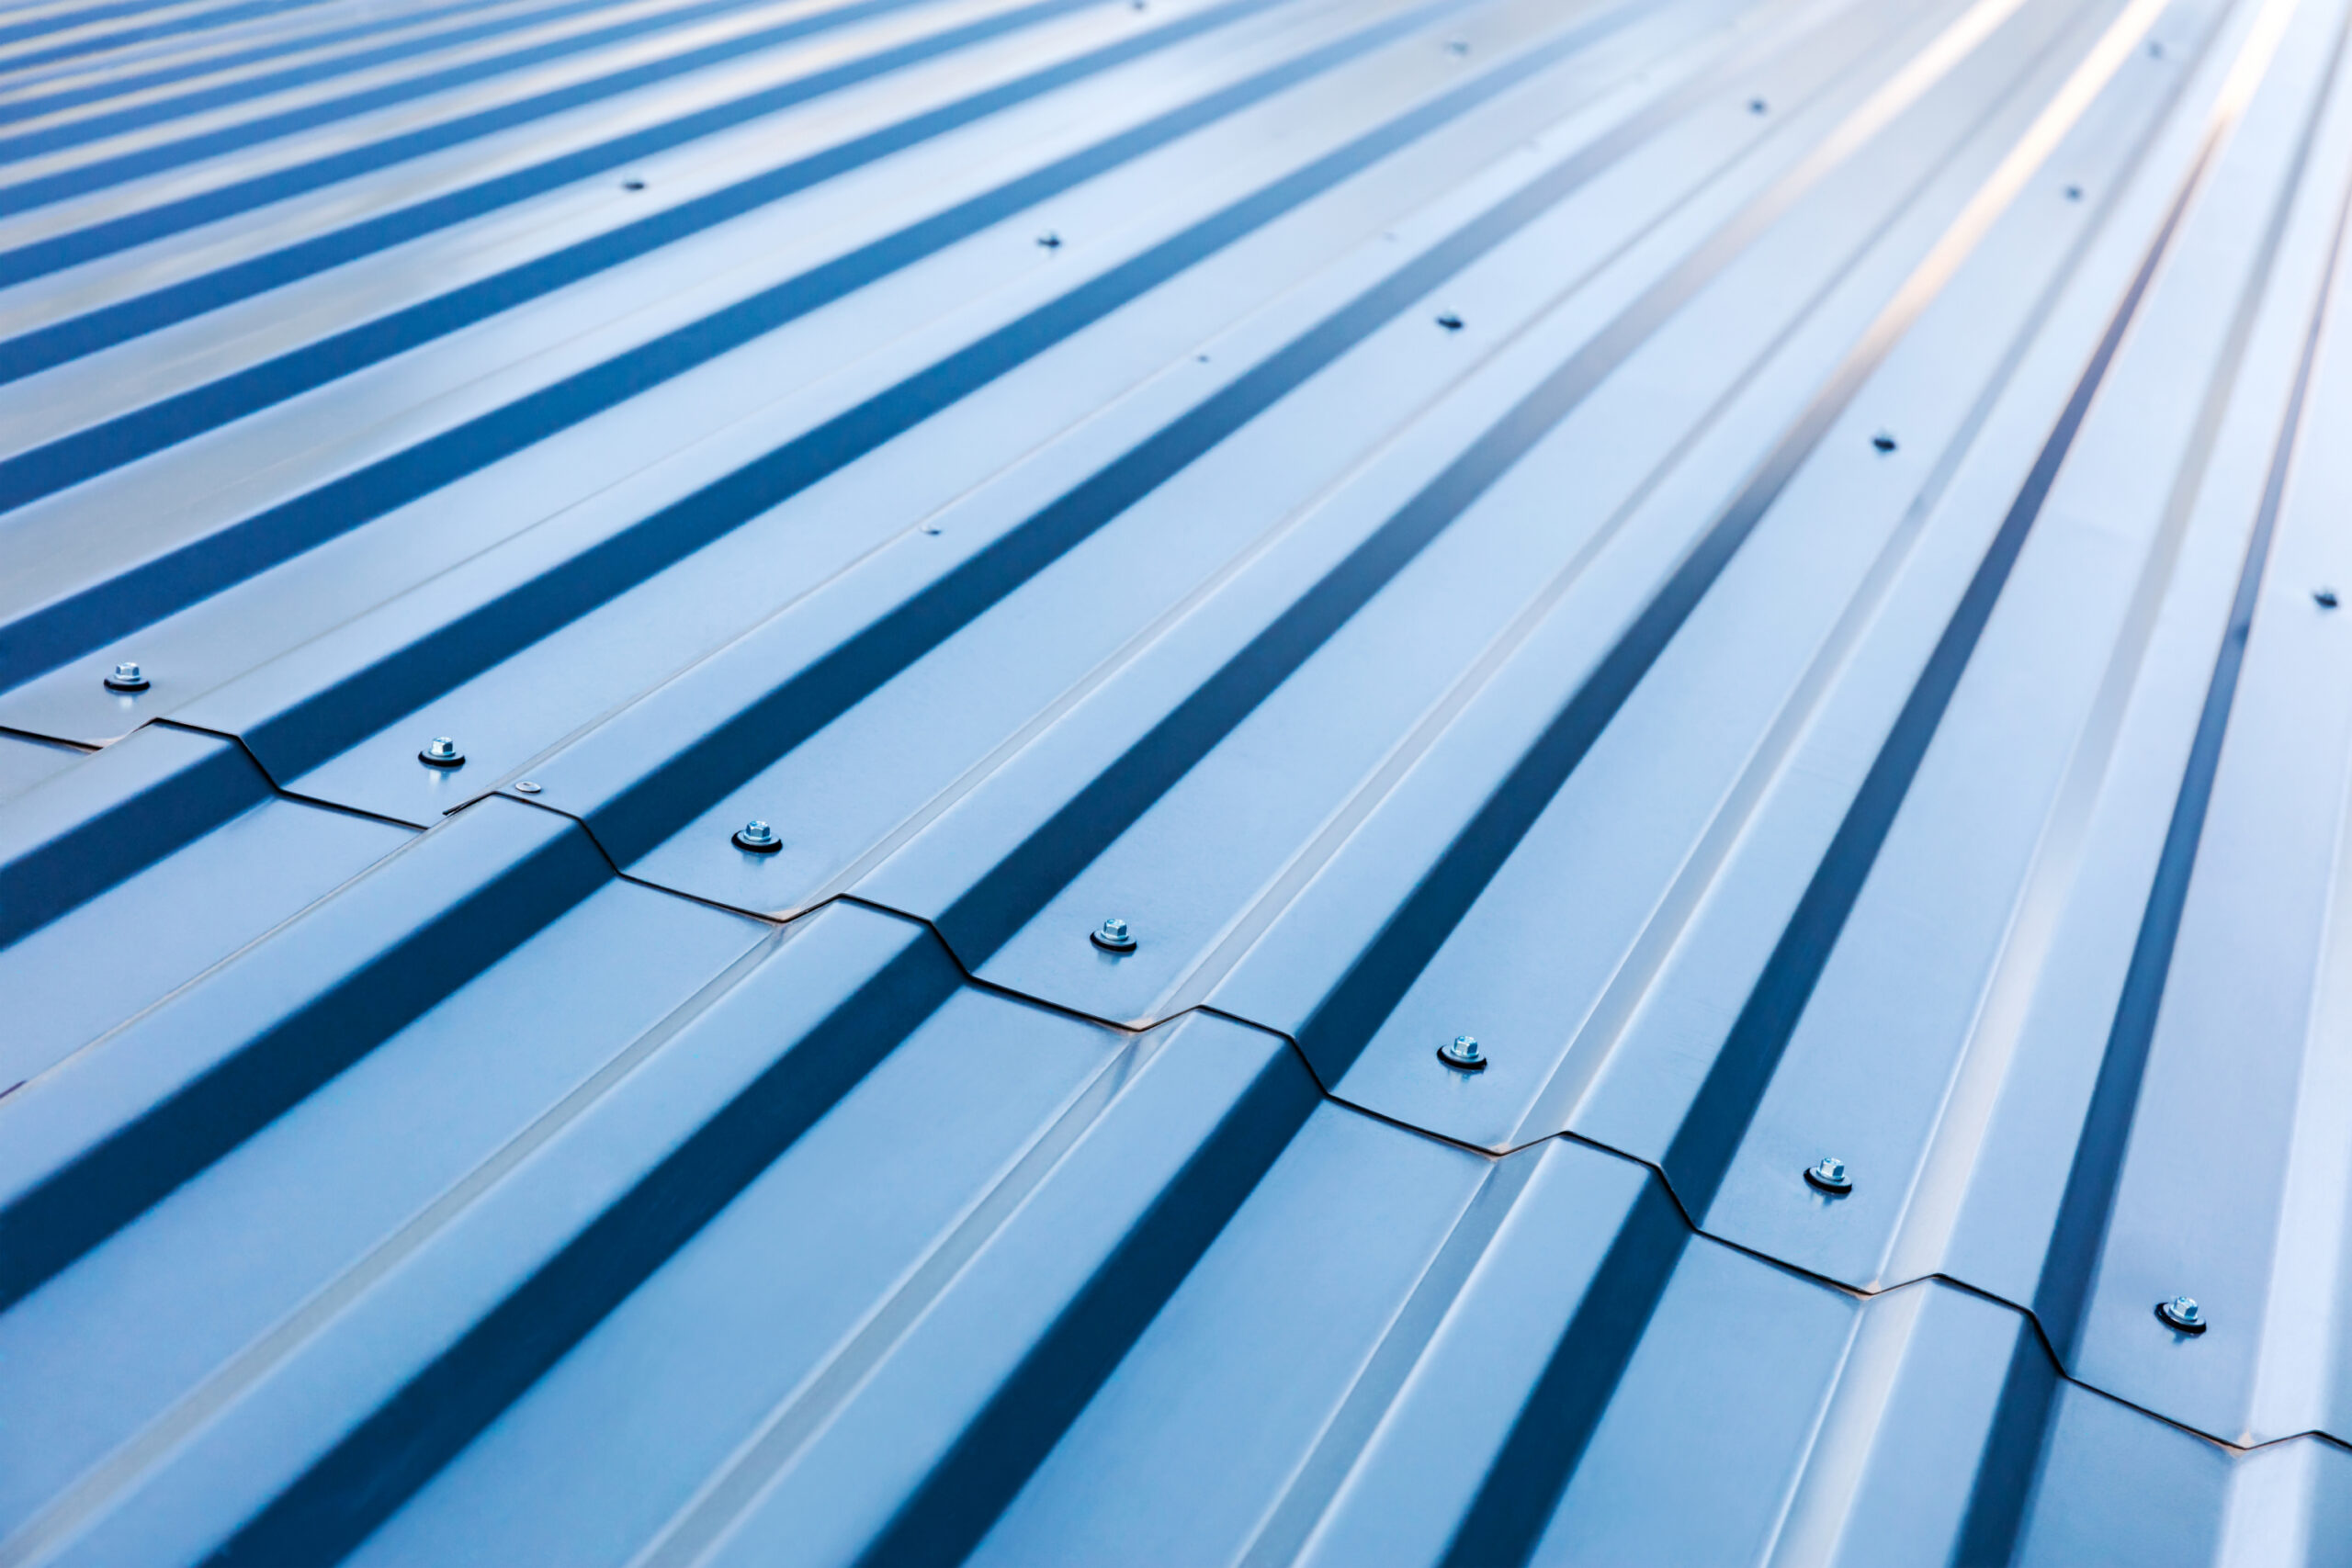
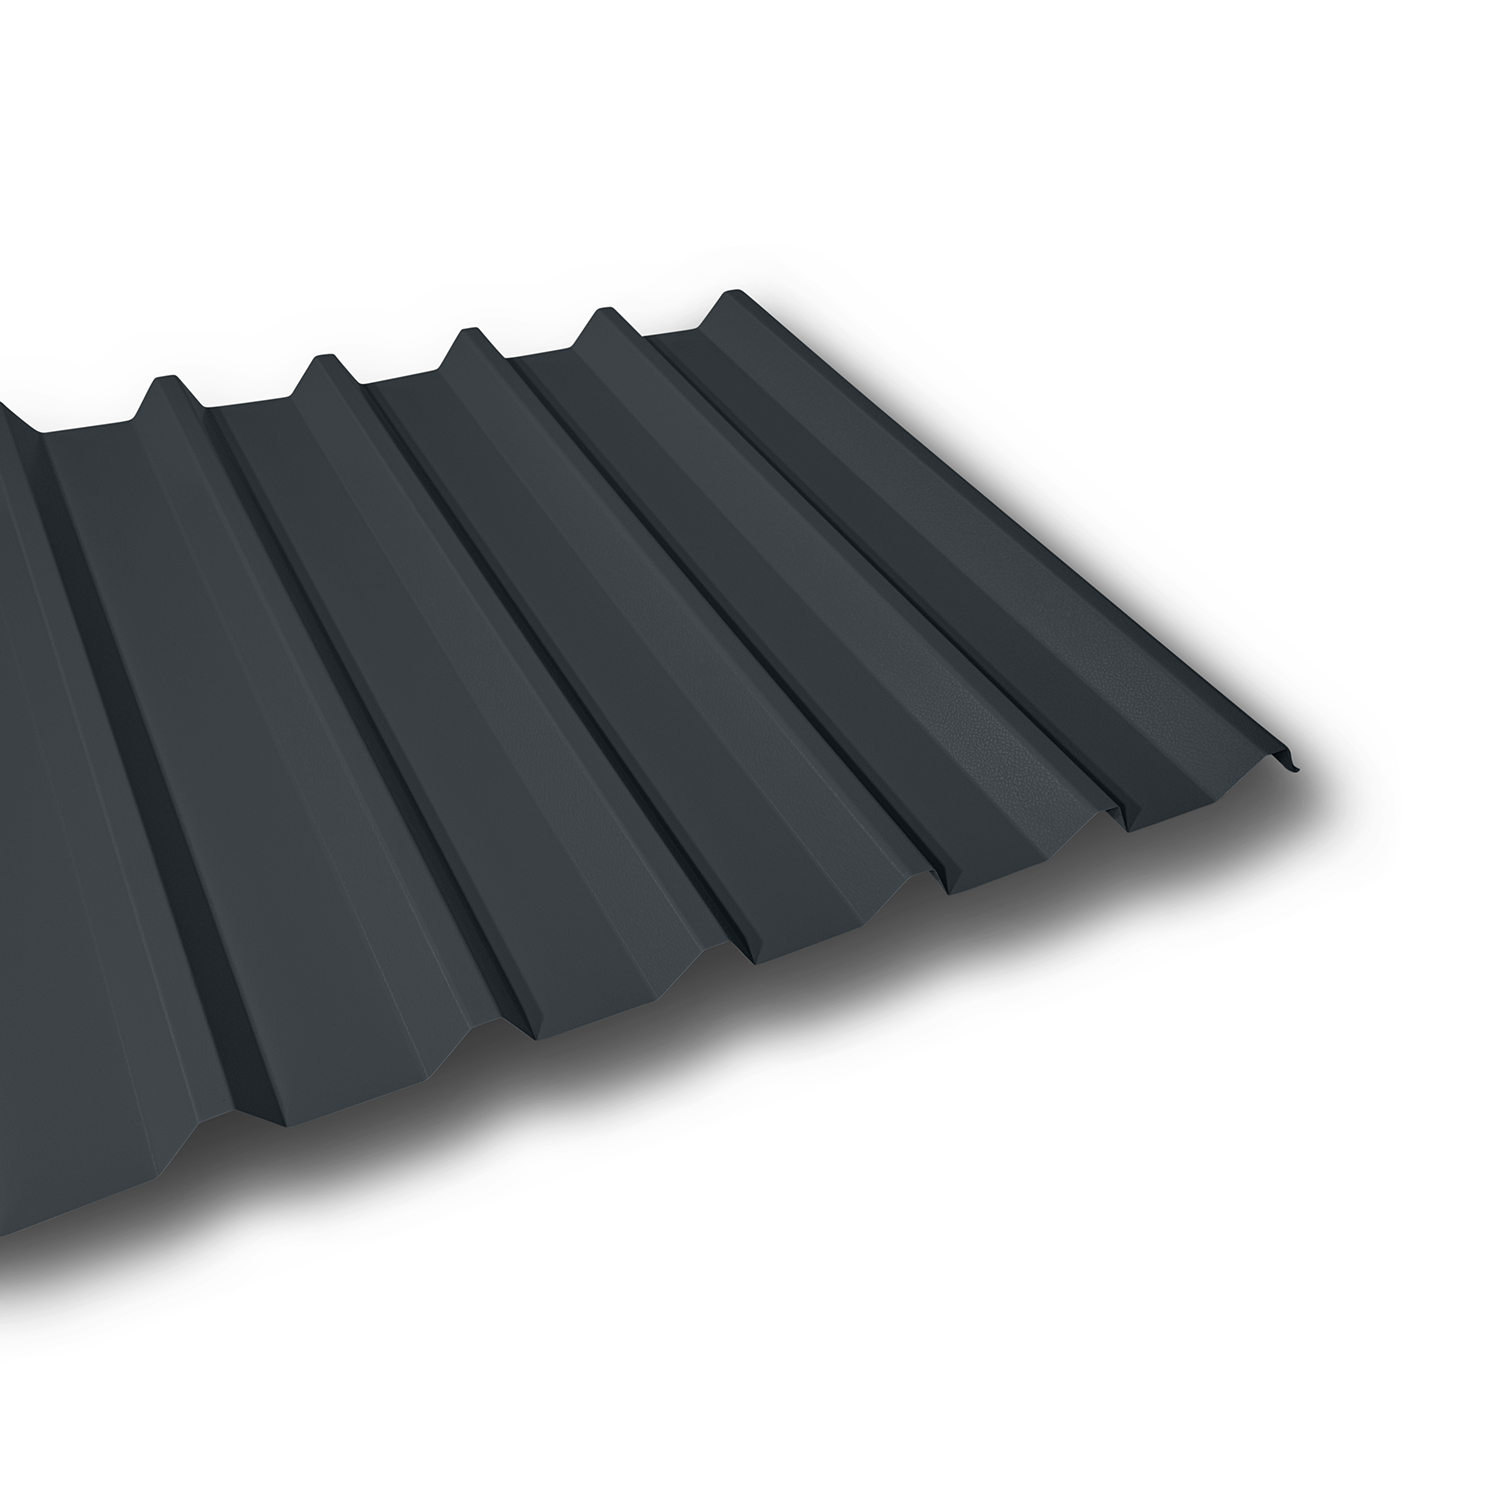
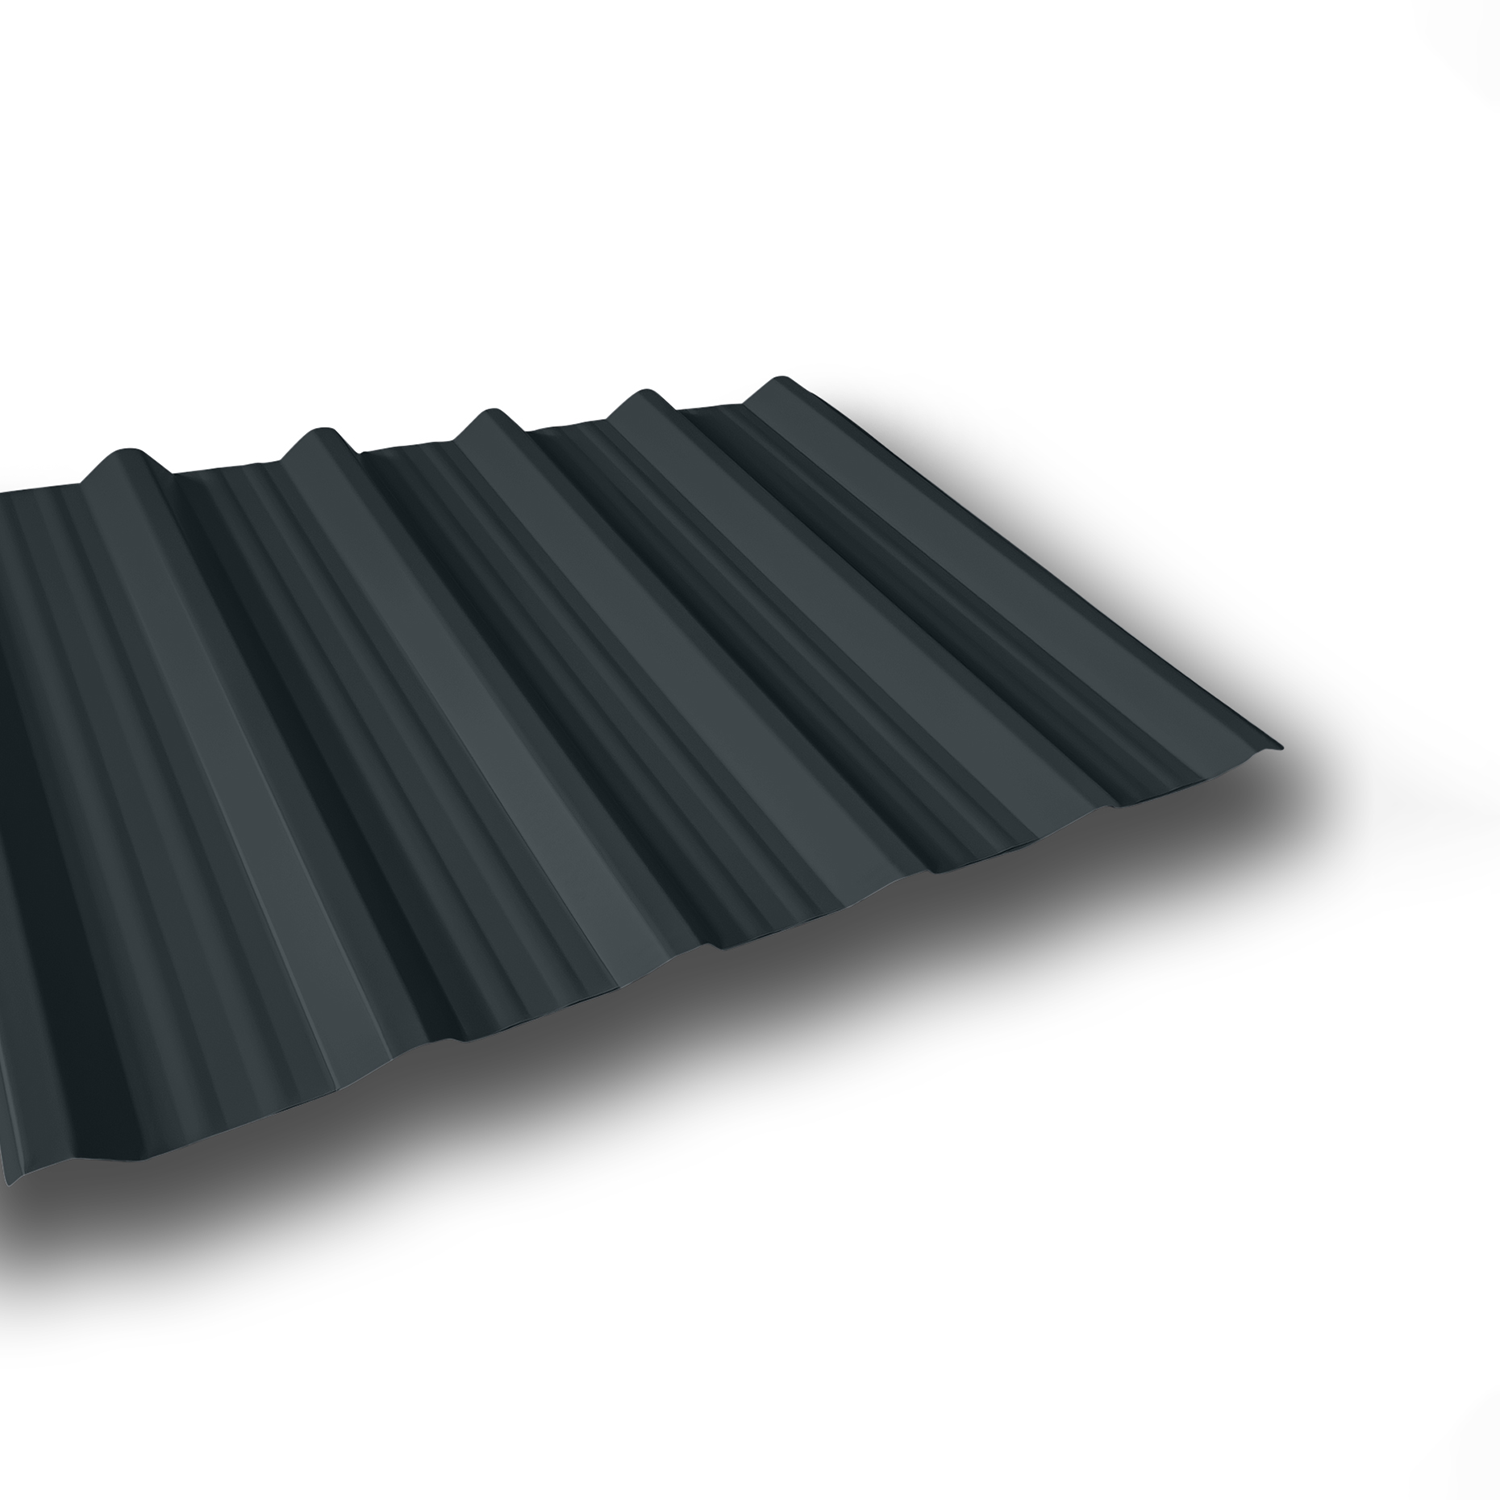
What Is Box Profile Roofing?
The 32/1000 box profile (also known as R1000) is the modern industry standard for steel roofing. It features flat pans separated by raised trapezoidal ribs at 32mm height, giving it a clean, contemporary appearance. Box profile sheets provide 1000mm of coverage per sheet once overlapped, making it easy to calculate how many sheets you need. The flat pans also make it easier to walk on during installation compared to corrugated.
Key Differences at a Glance
Feature
Corrugated (13/3)
Box Profile (32/1000)
Profile height
~18mm
32mm
Coverage width
~1000mm
1000mm
Strength
Good
Higher
Appearance
Traditional, classic
Modern, clean lines
Walk-on ability
Difficult
Easier (flat pans)
Best for
Sheds, barns, agricultural
Industrial, commercial, domestic
Price
Same as box profile
Same as corrugated
They Cost the Same
One of the most common misconceptions is that corrugated sheets are cheaper than box profile. In fact,
the steel cost is the same for both profiles
. The price difference comes entirely from the coating you choose:
Galvanised
(uncoated zinc steel) — the most economical option
Polyester
(25 micron smooth finish) — mid-range
Plastisol
(200 micron leather-grain finish) — the premium option
Whether you choose corrugated or box profile, the coating is what determines the price per metre.
When to Choose Corrugated
Corrugated roofing sheets are the right choice when:
You're replacing an existing corrugated roof (the profile matches old corrugated iron and asbestos cement sheets)
You want a traditional, rural appearance for agricultural buildings, barns or stables
You're roofing a shed, garage, lean-to or outbuilding
You need a profile that's easy to curve for barrel roofs
Planning or heritage requirements call for a corrugated finish
When to Choose Box Profile
Box profile roofing sheets are the right choice when:
You want a modern, clean-lined appearance
You're roofing an industrial unit, warehouse or commercial building
You need a stronger profile for larger roof spans
You want easier foot access during installation (the flat pans are easier to walk on)
You're building a domestic extension, garage or garden room with a contemporary look
What About Tile Effect?
If you're looking for something that resembles traditional roof tiles, our
V/Tile 1000
and
V/Tile 1100
tile effect profiles offer the appearance of clay or concrete tiles at a fraction of the weight and cost. These are popular for domestic projects where planning requirements call for a tile-like finish.
Available Coatings and Colours
Both corrugated and box profile sheets are available in:
Plastisol
— 200 micron, leather-grain texture, 15–25 year colour life
Polyester
— 25 micron, smooth finish, 10–15 year colour life
Galvanised
— zinc-coated, unpainted
We stock a range of standard colours in Plastisol and Polyester. Need a specific colour? Our
powder coating service
can manufacture either profile in any of
214 RAL colours
on aluzinc steel or aluminium.
Still Not Sure?
If you're not sure which profile is right for your project, give us a call on
0161 343 2060
or use our online
Price Calculator
to get an instant quote for either profile. We can also send you free samples so you can see and feel the difference before you order.
Coated Steel Products Ltd is a UK manufacturer of steel roofing sheets and wall cladding based in Ashton-under-Lyne, Manchester. We manufacture corrugated, box profile, tile effect and wall cladding sheets cut to any length, in any colour.
Read More...
How to Install 13.3 corrugated roof sheets
How to Install 13.3 Corrugated Profile Roof Sheets
The 13.3 corrugated profile is a classic roof sheet, first used in 1829 by Henry Robinson Palmer. It has stood the test of time and is now used across a wide variety of building applications, with increased popularity in modern domestic construction. This profile features a 20mm depth and covers 990mm in width once overlapped by two corrugations. Below is a step-by-step guide to help you correctly install this profile.
Ensure the First Sheet is Square
Before fixing the sheets to the roof structure, it's essential to make sure that the starting sheet is square to the roof frame. If the first sheet is not aligned properly, subsequent sheets will progressively become out of square, causing alignment issues. One way to ensure proper alignment is by measuring the distance from both sides of the sheet to the bottom roof batten or purlin. This will ensure the sheet is laid evenly.
Lay the Sheets in the Correct Order
Sheets should be laid from either left to right or right to left, depending on your preference or roof design. However, the underlap side of the sheet should always be positioned at the bottom, with the overlap side of the next sheet sitting on top. This arrangement ensures that the roof remains waterproof and secure.
Fixing Placement
Unlike box profiles and tile-effect profiles, the 13.3 corrugated profile is fixed at the crown (the high point) of the corrugation, rather than in the trough (the low point). The curved shape of the trough does not allow the washer to form a flat seal, which is why fixings are placed on the crown. As with other profiles, all fixings should be galvanized to prevent rusting, and the EPDM washers ensure a weatherproof seal.
Use Stitching Screws for Overlap Areas
To secure the overlapping sections of the sheets, stitching screws should be used. These screws should be placed at a minimum of 600mm intervals along the overlap and fixed directly on top of the crown of the profile. This provides additional security and stability.
Fixing and Screw Spacing
The number of screws used will depend on your specific requirements, but we recommend a maximum batten or purlin spacing of 1400mm. Along the roof, every other corrugation should be fixed. However, at the top and bottom battens or purlins, each corrugation should be secured with fixings for added strength and durability.
Conclusion
By following these installation guidelines, your 13.3 corrugated profile roof sheets will be securely and properly installed. Ensuring correct alignment, placement of fixings, and proper spacing will result in a durable and weather-resistant roof. For additional advice or support, feel free to contact our expert team.
Read More...
How to Install RWA6 38/914 box profile roof sheets
How to Install RWA6Profile Roof Sheets
The RWA6 profile roof sheet is a versatile and industry-standard solution, featuring a 32mm depth and a 1000mm wide coverage. It is ideal for a wide range of roofing applications due to its durability and ease of installation. Below, we provide a step-by-step guide to ensure you install these sheets correctly for a long-lasting, weatherproof roof.
Start with a Square Layout
Before you begin attaching the sheets to the roof structure, it is crucial to ensure the first sheet is square with the roof frame. If the initial sheet is not aligned correctly, subsequent sheets will gradually fall out of square, affecting the overall installation. To avoid this, measure the distance from the bottom roof batten or purlin to both sides of the sheet. Adjust until the distances are equal, ensuring the first sheet is properly aligned.
Lay the Sheets in the Correct Direction
You can lay the sheets either from left to right or right to left, depending on your roof design. However, the key is to ensure the underlap side of each sheet is on the bottom. The next sheet should then overlap on top, ensuring a secure fit. This layering prevents water from seeping through the joints, keeping the roof waterproof.
Correct Fixing Position
Contrary to what some might assume, the fixings should not be placed on the high points of the profile (also known as the crown). Instead, they should be fixed into the lower flat areas of the profile (the trough). Fixing into the trough provides a solid base for the screw and ensures that the EPDM washer seals tightly, preventing water ingress. Placing fixings on the crown can cause the metal to bend and may compromise the seal.
Use Galvanized Fixings
All fixings supplied by us are galvanized to prevent rust and corrosion over time. The EPDM washers that accompany the fixings ensure a tight, weatherproof seal, with the galvanized top of the washer offering additional protection against moisture.
Stitching Screws for Overlap Areas
Stitching screws should be used at the overlap areas of the sheets to further secure them. These screws should be placed at a minimum of 600mm intervals and fixed on top of the overlap's crown. This provides added stability to the roof structure and prevents any movement between overlapping sheets.
Fixing and Screw Spacing
The spacing of the screws largely depends on your specific requirements, but as a general rule, we recommend a maximum batten or purlin spacing of 1400mm. Fixings should be applied in every other corrugation along the roof. However, at the top and bottom battens or purlins, every corrugation should be secured with fixings to provide additional strength at these critical points.
Conclusion
Following these guidelines will help ensure your RWA6profile roof sheet installation is both efficient and effective. A square starting point, correct fixing placement, and proper spacing of both screws and sheets are essential to achieving a durable, weather-resistant roof.
Read More...
How to Install R1000 32/1000 box profile roof sheets
How to Install R1000 Profile Roof Sheets
The R1000 profile roof sheet is a versatile and industry-standard solution, featuring a 32mm depth and a 1000mm wide coverage. It is ideal for a wide range of roofing applications due to its durability and ease of installation. Below, we provide a step-by-step guide to ensure you install these sheets correctly for a long-lasting, weatherproof roof.
Start with a Square Layout
Before you begin attaching the sheets to the roof structure, it is crucial to ensure the first sheet is square with the roof frame. If the initial sheet is not aligned correctly, subsequent sheets will gradually fall out of square, affecting the overall installation. To avoid this, measure the distance from the bottom roof batten or purlin to both sides of the sheet. Adjust until the distances are equal, ensuring the first sheet is properly aligned.
Lay the Sheets in the Correct Direction
You can lay the sheets either from left to right or right to left, depending on your roof design. However, the key is to ensure the underlap side of each sheet is on the bottom. The next sheet should then overlap on top, ensuring a secure fit. This layering prevents water from seeping through the joints, keeping the roof waterproof.
Correct Fixing Position
Contrary to what some might assume, the fixings should not be placed on the high points of the profile (also known as the crown). Instead, they should be fixed into the lower flat areas of the profile (the trough). Fixing into the trough provides a solid base for the screw and ensures that the EPDM washer seals tightly, preventing water ingress. Placing fixings on the crown can cause the metal to bend and may compromise the seal.
Use Galvanized Fixings
All fixings supplied by us are galvanized to prevent rust and corrosion over time. The EPDM washers that accompany the fixings ensure a tight, weatherproof seal, with the galvanized top of the washer offering additional protection against moisture.
Stitching Screws for Overlap Areas
Stitching screws should be used at the overlap areas of the sheets to further secure them. These screws should be placed at a minimum of 600mm intervals and fixed on top of the overlap's crown. This provides added stability to the roof structure and prevents any movement between overlapping sheets.
Fixing and Screw Spacing
The spacing of the screws largely depends on your specific requirements, but as a general rule, we recommend a maximum batten or purlin spacing of 1400mm. Fixings should be applied in every other corrugation along the roof. However, at the top and bottom battens or purlins, every corrugation should be secured with fixings to provide additional strength at these critical points.
Conclusion
Following these guidelines will help ensure your R1000 profile roof sheet installation is both efficient and effective. A square starting point, correct fixing placement, and proper spacing of both screws and sheets are essential to achieving a durable, weather-resistant roof.
Read More...
No Results Found
:(