Installation Guide
This guide covers the essential steps for installing steel roofing sheets and wall cladding. Whether you’re fitting box profile, corrugated or tile effect sheets, the fundamental principles are the same. Following these guidelines will ensure a weathertight, long-lasting installation.
Before You Start
Before beginning installation, make sure you have:
1. Checked all sheets on delivery for damage. Report any issues within 48 hours.
2. Confirmed the correct number of sheets, flashings and fixings have been delivered.
3. A suitable support structure in place — timber or steel purlins at the correct centres for your chosen profile.
4. The correct fixings for your purlin type — wood fixings for timber, light steel fixings for thin gauge steel, heavy steel fixings for thicker gauge steel.
5. Appropriate PPE — cut resistant gloves are essential when handling steel sheets. Safety boots, eye protection and hard hat recommended.
Purlin Spacing
The distance between your purlins (or battens) depends on the profile and thickness of your sheets. As a general guide:
| Profile | Recommended Max Purlin Centres |
| R1000 / C1000 (32/1000) | Up to 1200mm for roofing, up to 2000mm for cladding |
| RWA6 / CWA6 (38/914) | Up to 1400mm for roofing, up to 2000mm for cladding |
| 13/3 Corrugated | Up to 1200mm for roofing |
| V/Tile 1000 / V/Tile 1100 | Up to 1000mm for roofing |
These are general guidelines. Actual purlin centres should be calculated based on wind loading, snow loading and building regulations for your specific location and building design. Consult a structural engineer for large or exposed buildings.
Step 1 — Start with a Square Layout
Before attaching sheets to the roof structure, it is crucial to ensure the first sheet is square with the roof frame. If the initial sheet is not aligned correctly, subsequent sheets will gradually fall out of square, affecting the overall installation. Measure the distance from the bottom roof batten or purlin to both sides of the sheet and adjust until the distances are equal, ensuring the first sheet is properly aligned.
Step 2 — Lay Sheets in the Correct Direction
Lay sheets from left to right or right to left depending on your roof design. The key is to ensure the underlay side of each sheet is on the bottom. The next sheet should then overlap on top, ensuring a secure fit. This layering prevents water from seeping through the joints, keeping the roof waterproof.
Where possible, lay sheets away from the prevailing wind direction so that the overlapping edge faces away from the wind-driven rain.
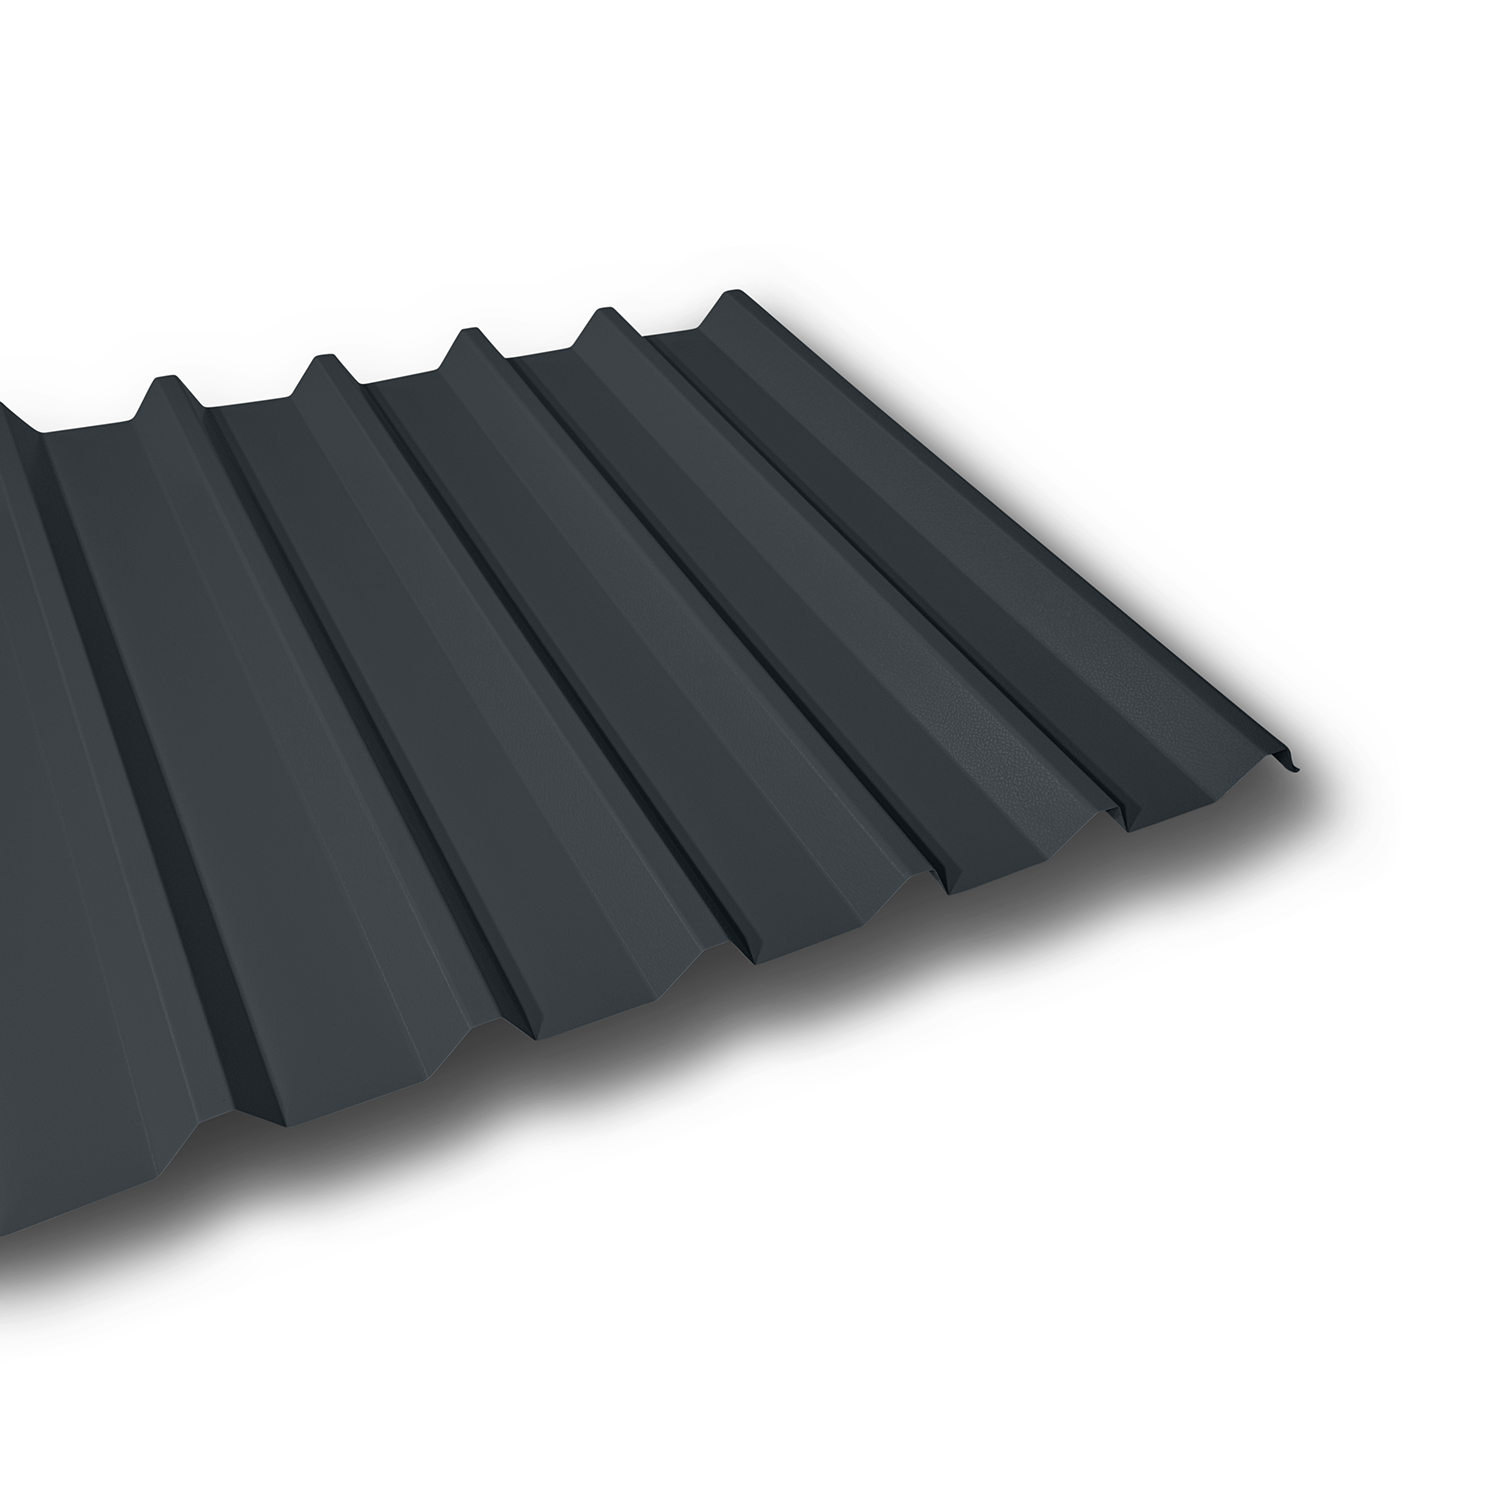
Step 3 — Correct Fixing Position
Contrary to what some might assume, fixings should not be placed on the high points of the profile (the crown). Instead, they should be fixed into the lower flat areas of the profile (the trough). Fixing into the trough provides a solid base for the screw and ensures that the EPDM washer seals tightly, preventing water ingress. Placing fixings on the crown can cause the metal to bend and may compromise the seal.
Step 4 — Use the Correct Fixings
Always use self-drilling roofing screws with EPDM (rubber) sealing washers. The EPDM washer compresses against the sheet to create a weathertight seal. Use the correct fixing type for your purlin material:
Timber purlins: Use wood fixings (coarse thread, self-drilling point).
Light gauge steel purlins: Use light steel fixings (fine thread, self-drilling point).
Heavy gauge steel purlins: Use heavy steel fixings (fine thread, heavy-duty drill point).
All fixings supplied by us are galvanised to prevent rust and corrosion over time. Colour caps are available to match your sheet colour for a neat finish.
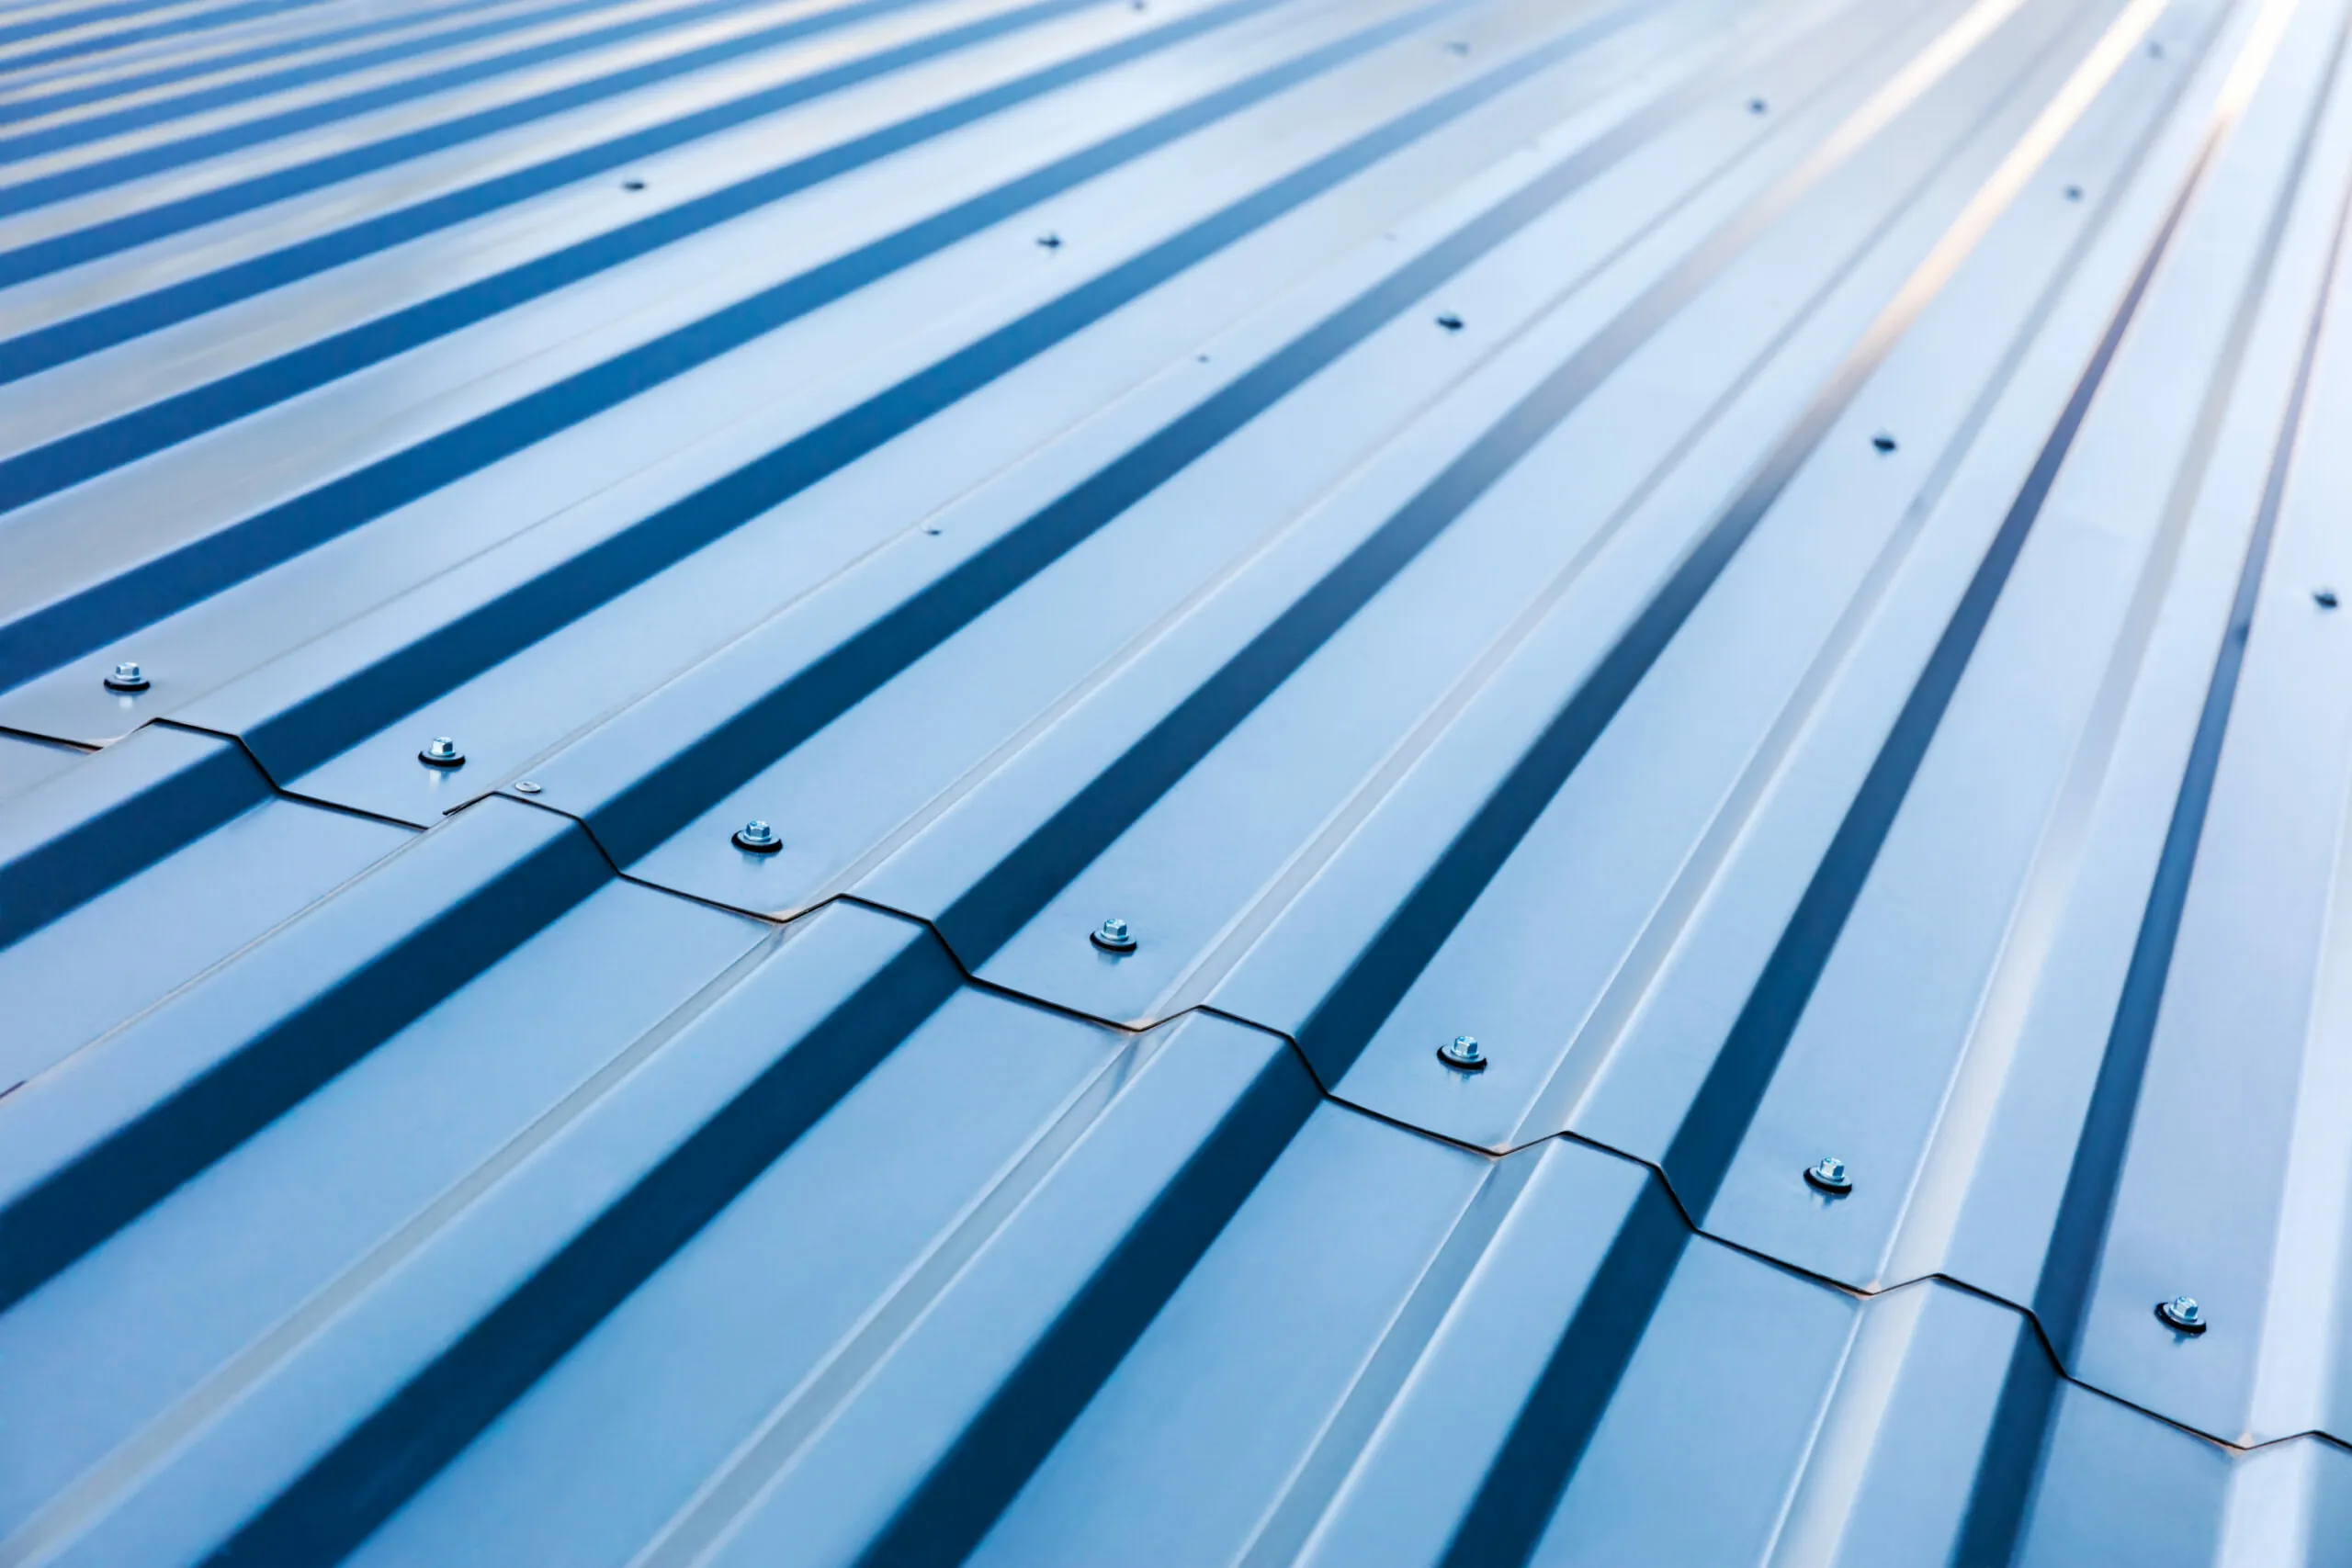
Step 5 — Stitching Screws for Overlaps
Stitching screws should be used at the overlap areas of the sheets to further secure them. These screws should be placed at a minimum of 600mm intervals and fixed on top of the overlap’s crown. This provides added stability to the roof structure and prevents any movement between overlapping sheets.
Step 6 — Fixing Spacing
The spacing of the screws largely depends on your specific requirements, but as a general rule, we recommend a maximum batten or purlin spacing of 1400mm. Fixings should be applied in every other corrugation along the roof. However, at the top and bottom battens or purlins, every corrugation should be secured with fixings to provide additional strength at these critical points.
Step 7 — Install Flashings
Once all sheets are fixed, install your flashings to complete the weathertight envelope:
Ridge flashings — fit along the apex of the roof. Use foam fillers underneath to seal the gap between the ridge and the sheet profile.
Eaves flashings — fit at the bottom edge of the roof to direct water into the gutter.
Barge flashings — fit along the gable ends (sides) of the roof.
Wall flashings — fit where the roof meets a wall to prevent water ingress.
All flashings should be fixed with stitching screws and sealed with butyl tape or sealant where required.
Step 8 — Foam Fillers
Foam fillers should be fitted at the ridge and eaves to close the gaps between the sheet profile and the flashings. They prevent birds, vermin, wind-driven rain and debris from entering the building through the profile gaps. Foam fillers are profile-specific — make sure you order the correct fillers for your sheet profile.
View foam fillers for all profiles →
Handling & Storage
Handling: Always wear cut resistant gloves when handling steel sheets. Carry sheets on edge, never flat — a sheet carried flat can catch the wind and become dangerous. Use two people for sheets over 3 metres long.
Storage: If sheets cannot be installed immediately, store them under cover in a dry, well-ventilated area. Do not leave sheets in their packaging for more than one month, as moisture can become trapped and cause staining or white rust on galvanised surfaces. If sheets must be stored outdoors temporarily, tilt the stack slightly so water can drain off and air can circulate.
Cutting: Use tin snips, nibbles or a circular saw with a metal cutting blade. Do not use an angle grinder — the sparks will damage the coating and cause premature corrosion at the cut points. After cutting, brush away any metal swarf immediately as it will rust and stain the sheet surface.
Need Help?
If you need advice on installation, fixings, purlin spacing or any other aspect of your project, call us on 0161 343 2060 and we’ll be happy to help. We can advise on the correct products, quantities and installation method for your specific project.
This guide covers general installation principles. For profile-specific installation instructions, please refer to the individual product pages or contact us for technical support.
Installation Guide
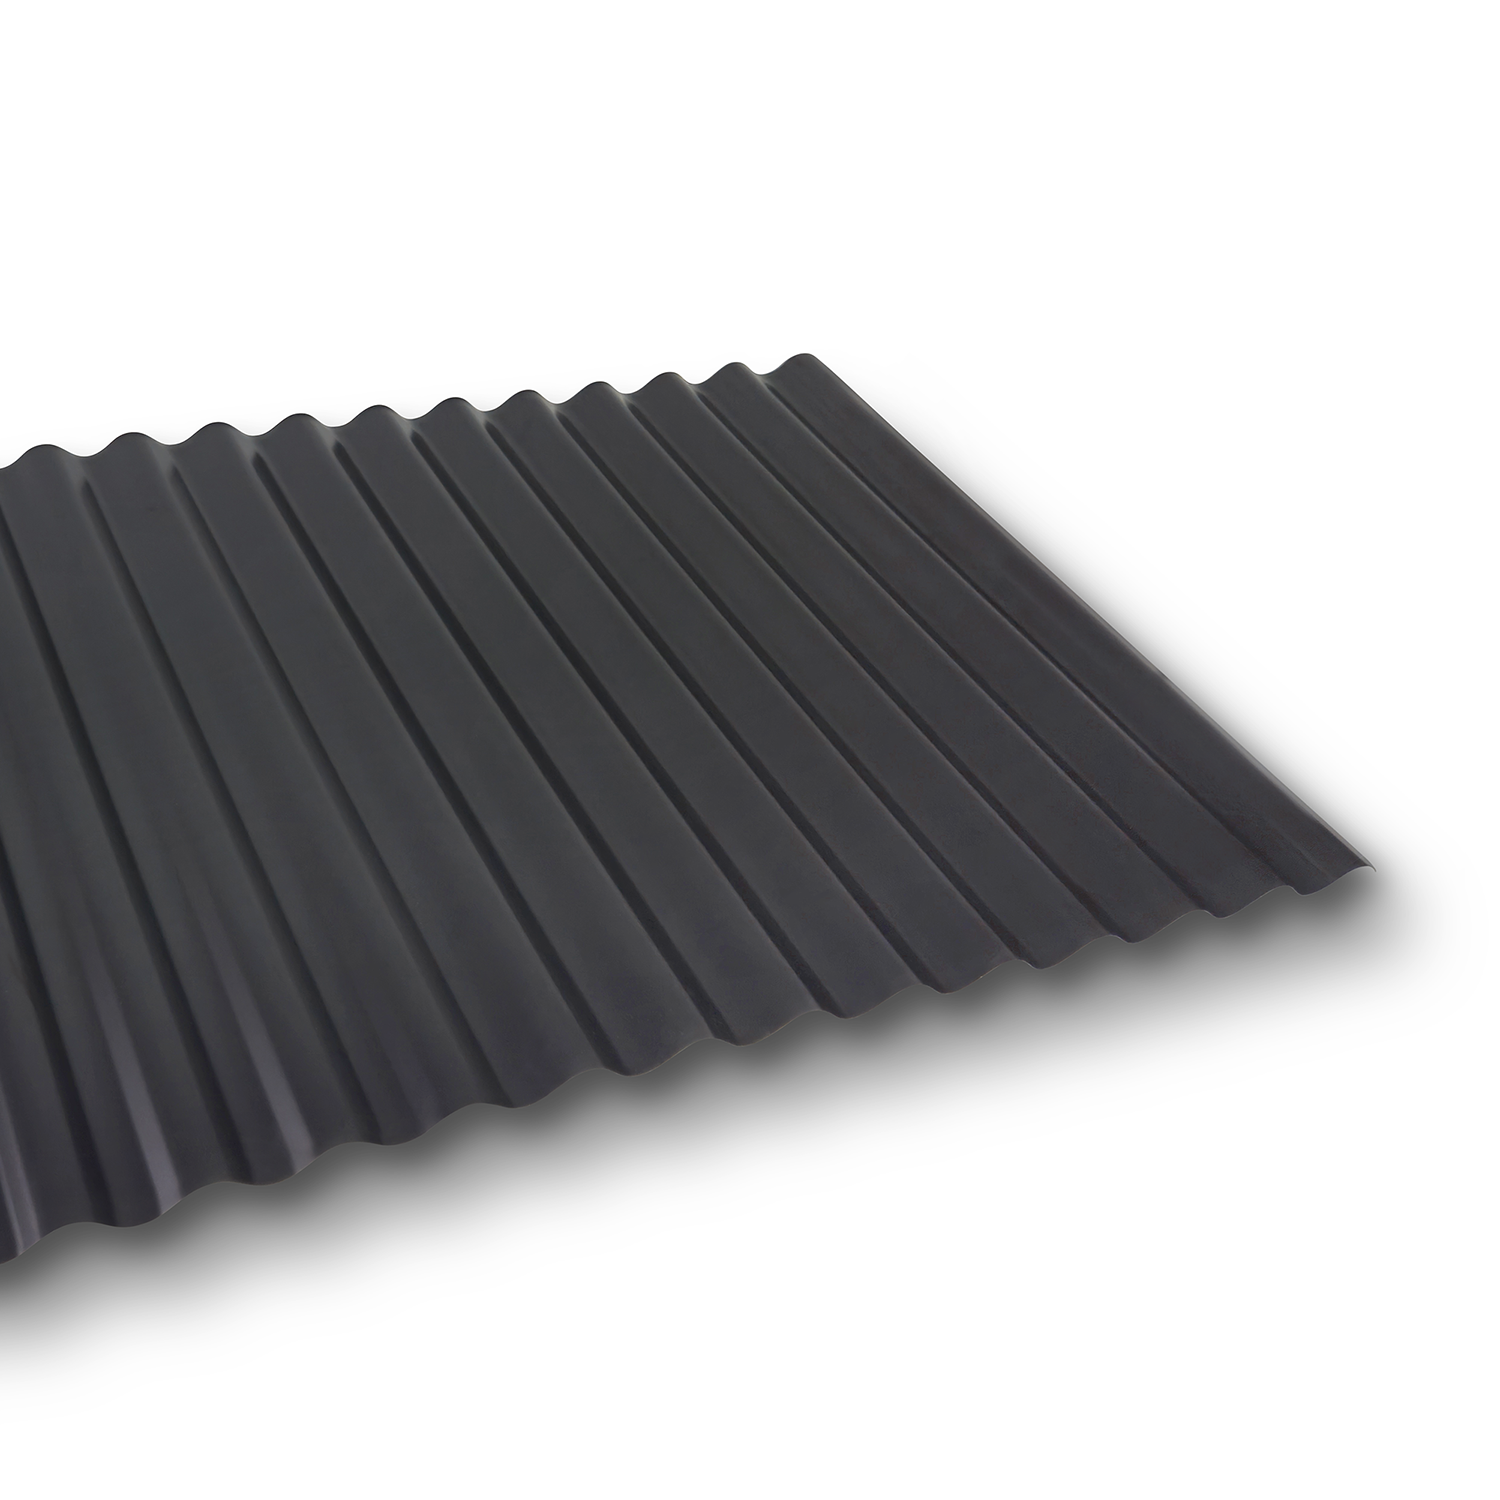
How to Install 13.3 corrugated roof sheets
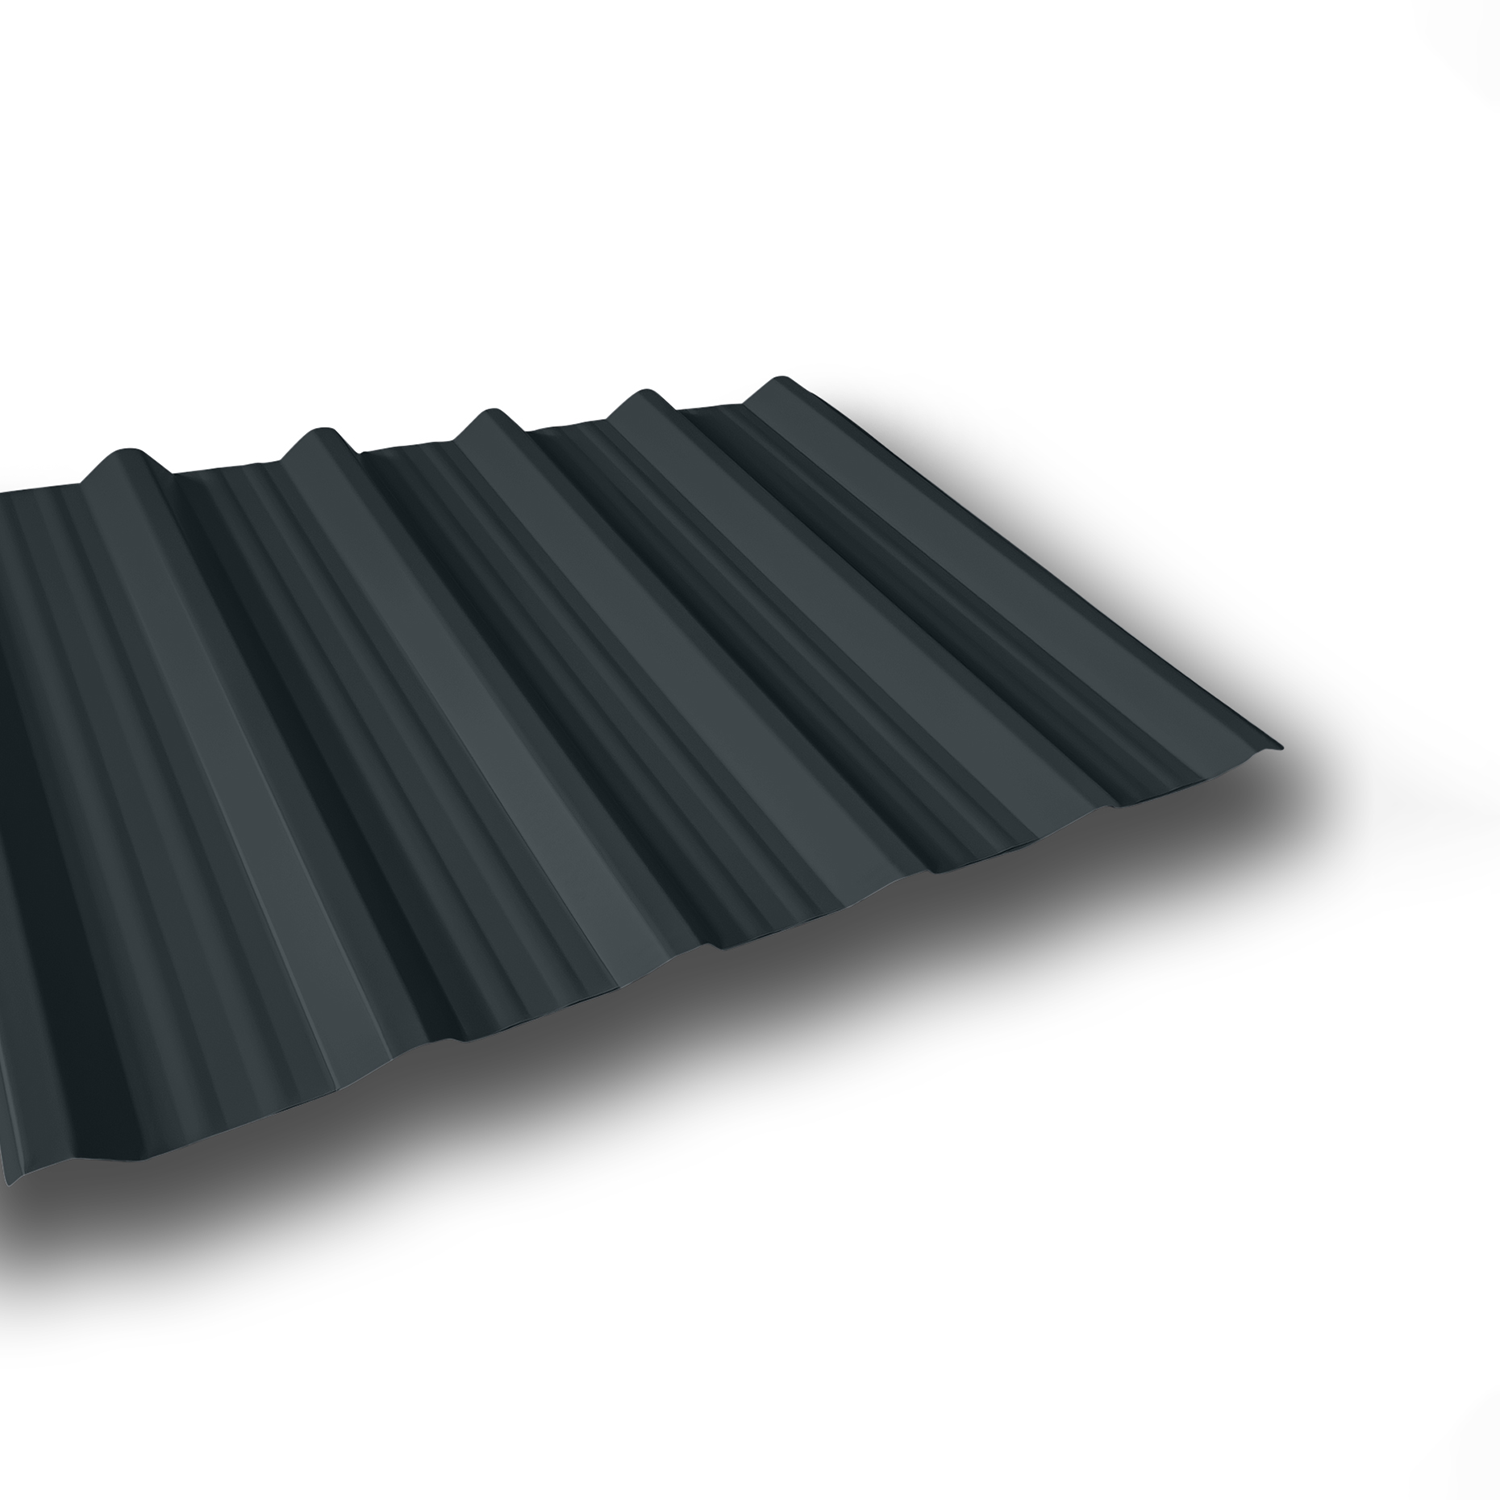
How to Install R1000 32/1000 box profile roof sheets