How to Install 13.3 corrugated roof sheets
How to Install 13.3 Corrugated Profile Roof Sheets
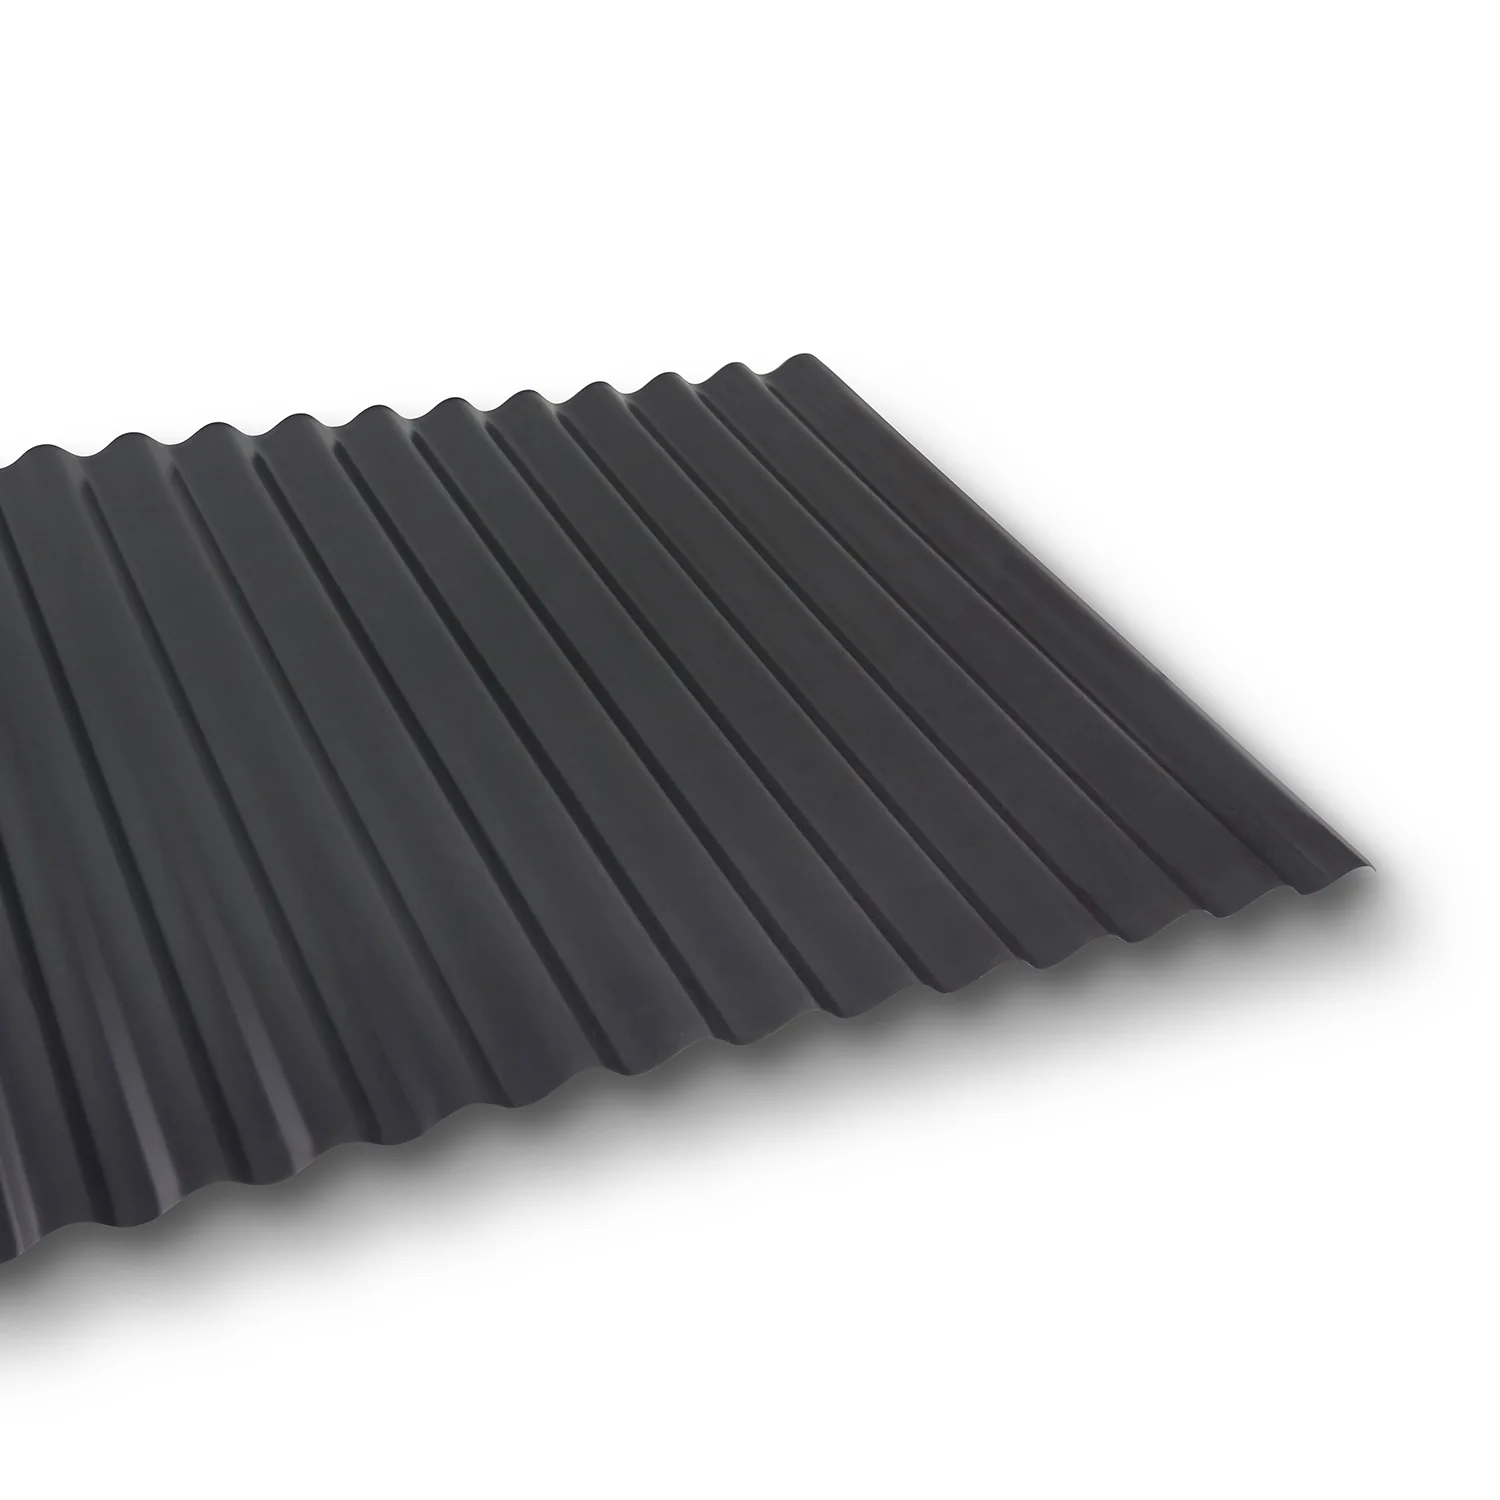
The 13.3 corrugated profile is a classic roof sheet, first used in 1829 by Henry Robinson Palmer. It has stood the test of time and is now used across a wide variety of building applications, with increased popularity in modern domestic construction. This profile features a 20mm depth and covers 990mm in width once overlapped by two corrugations. Below is a step-by-step guide to help you correctly install this profile.
Ensure the First Sheet is Square
Before fixing the sheets to the roof structure, it’s essential to make sure that the starting sheet is square to the roof frame. If the first sheet is not aligned properly, subsequent sheets will progressively become out of square, causing alignment issues. One way to ensure proper alignment is by measuring the distance from both sides of the sheet to the bottom roof batten or purlin. This will ensure the sheet is laid evenly.
Lay the Sheets in the Correct Order
Sheets should be laid from either left to right or right to left, depending on your preference or roof design. However, the underlap side of the sheet should always be positioned at the bottom, with the overlap side of the next sheet sitting on top. This arrangement ensures that the roof remains waterproof and secure.
Fixing Placement
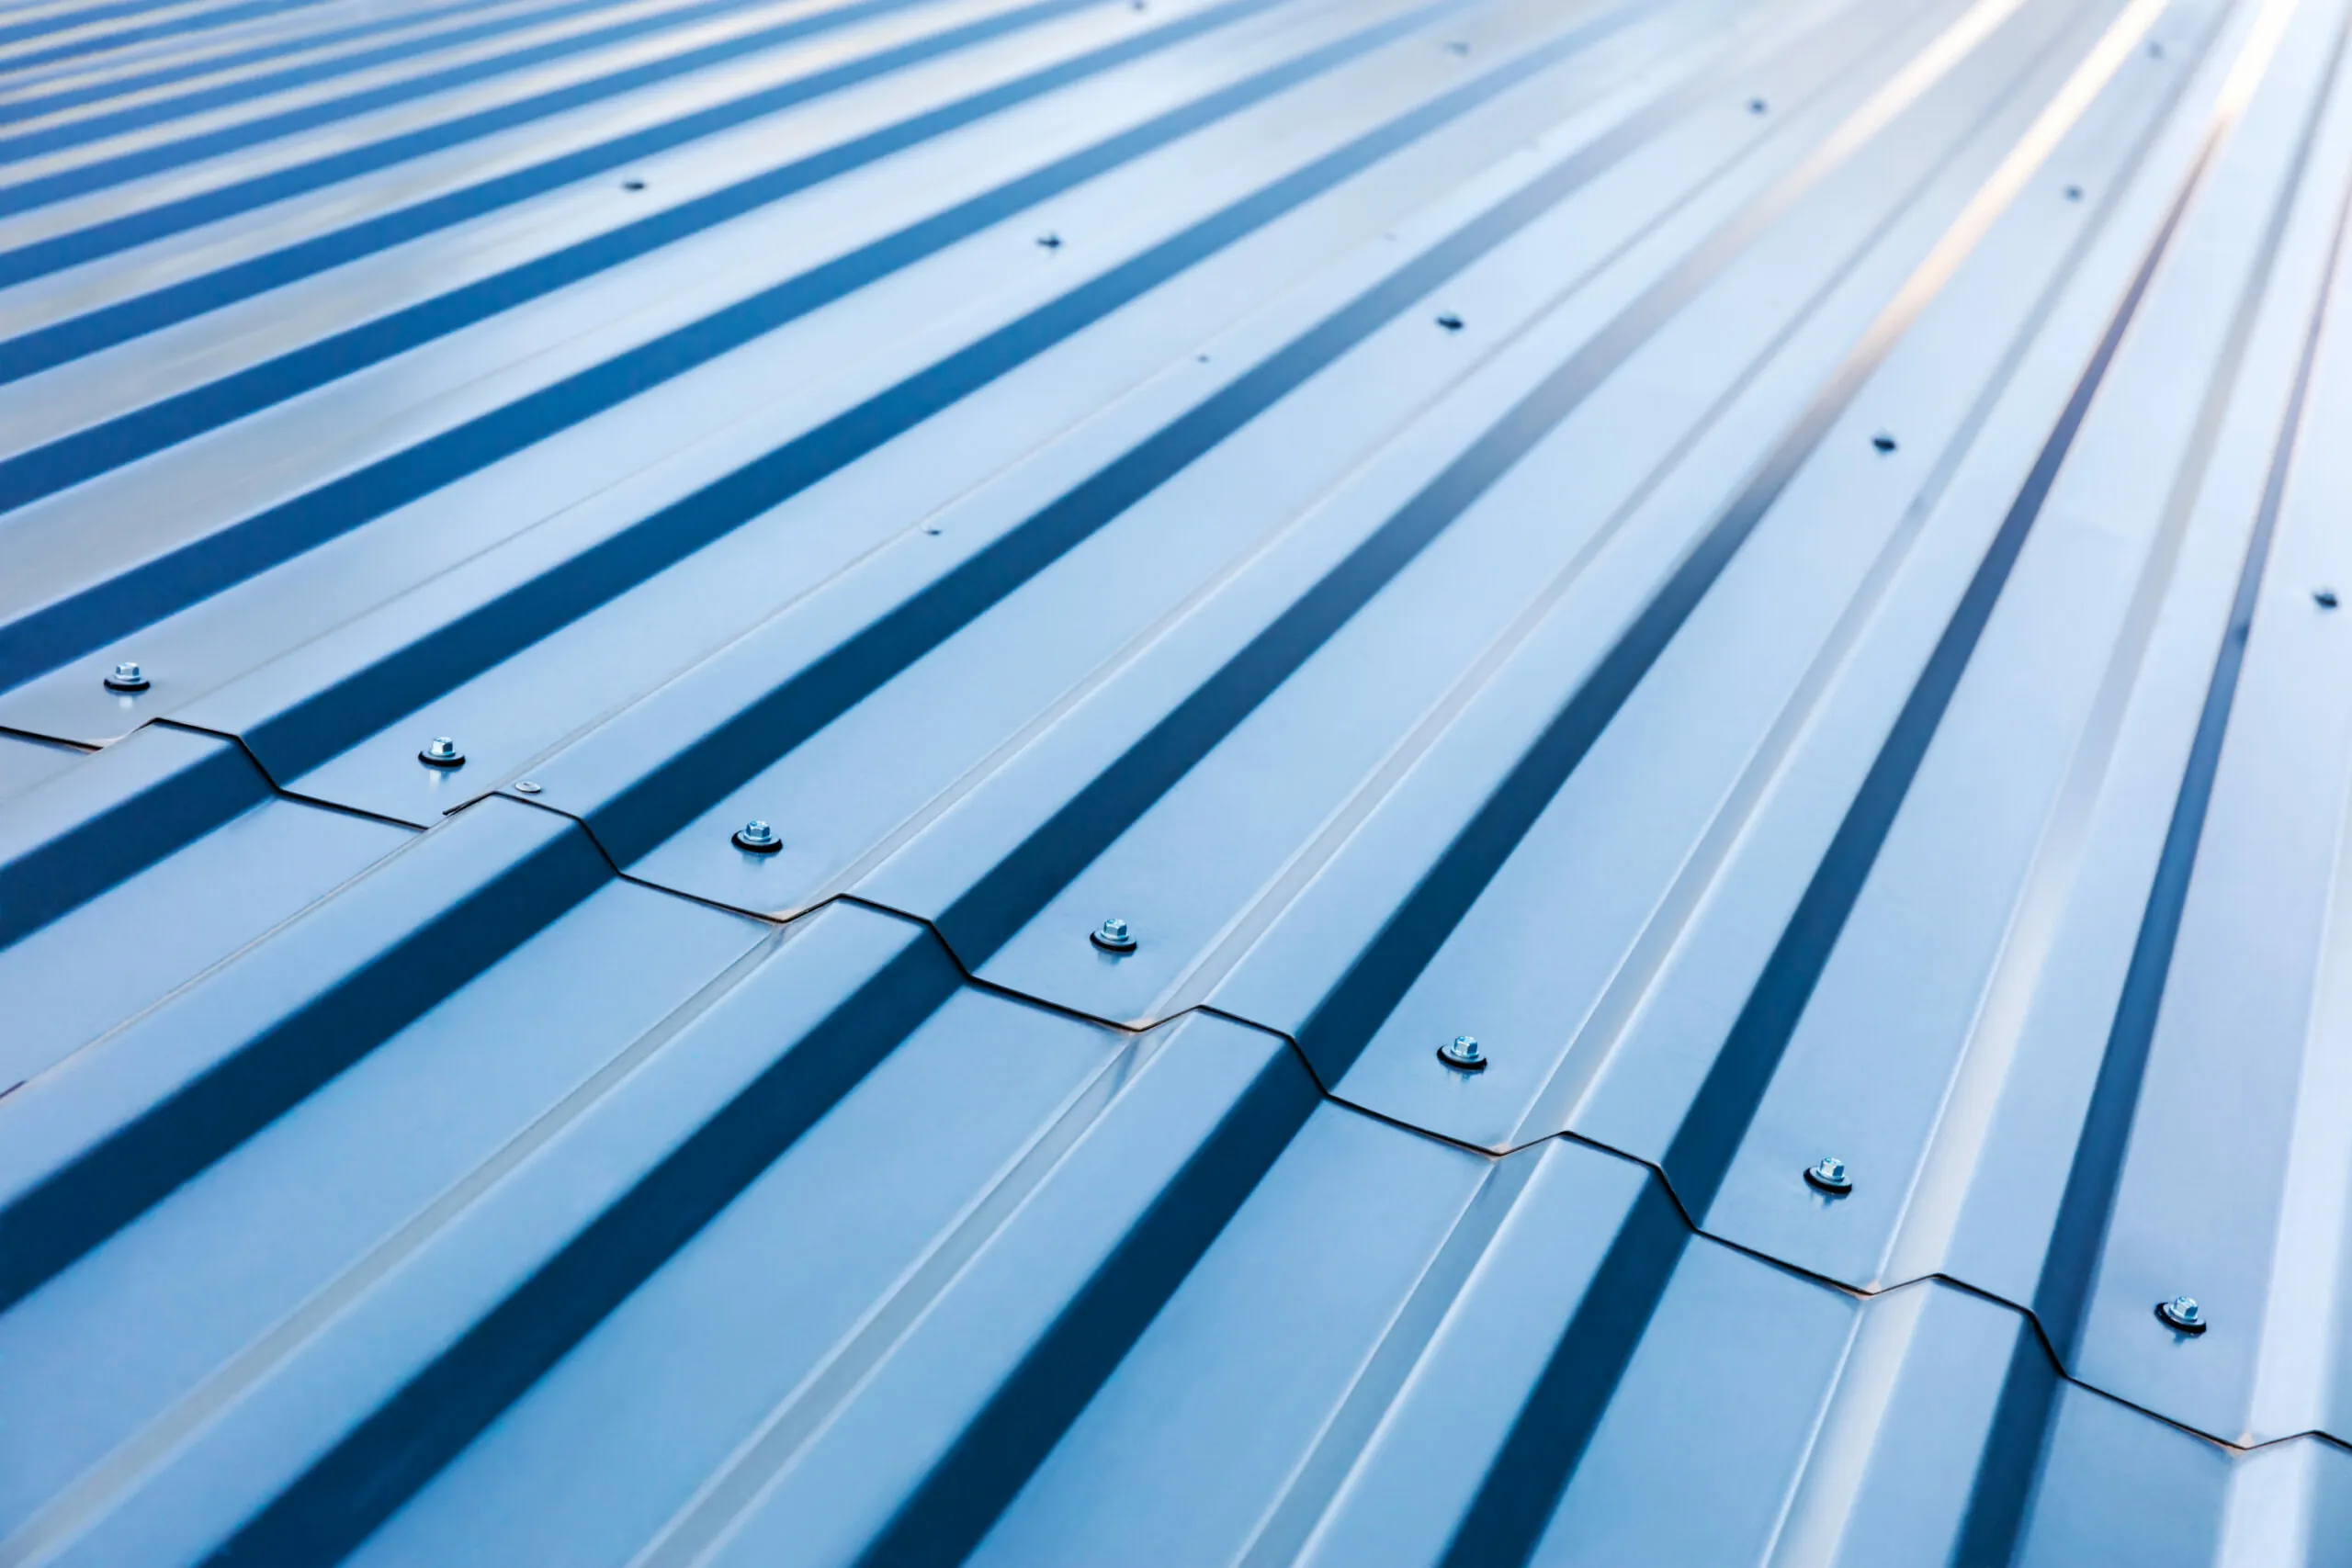
Unlike box profiles and tile-effect profiles, the 13.3 corrugated profile is fixed at the crown (the high point) of the corrugation, rather than in the trough (the low point). The curved shape of the trough does not allow the washer to form a flat seal, which is why fixings are placed on the crown. As with other profiles, all fixings should be galvanized to prevent rusting, and the EPDM washers ensure a weatherproof seal.
Use Stitching Screws for Overlap Areas
To secure the overlapping sections of the sheets, stitching screws should be used. These screws should be placed at a minimum of 600mm intervals along the overlap and fixed directly on top of the crown of the profile. This provides additional security and stability.
Fixing and Screw Spacing
The number of screws used will depend on your specific requirements, but we recommend a maximum batten or purlin spacing of 1400mm. Along the roof, every other corrugation should be fixed. However, at the top and bottom battens or purlins, each corrugation should be secured with fixings for added strength and durability.
Conclusion
By following these installation guidelines, your 13.3 corrugated profile roof sheets will be securely and properly installed. Ensuring correct alignment, placement of fixings, and proper spacing will result in a durable and weather-resistant roof. For additional advice or support, feel free to contact our expert team.
