How to Install RWA6 38/914 box profile roof sheets
How to Install RWA6Profile Roof Sheets
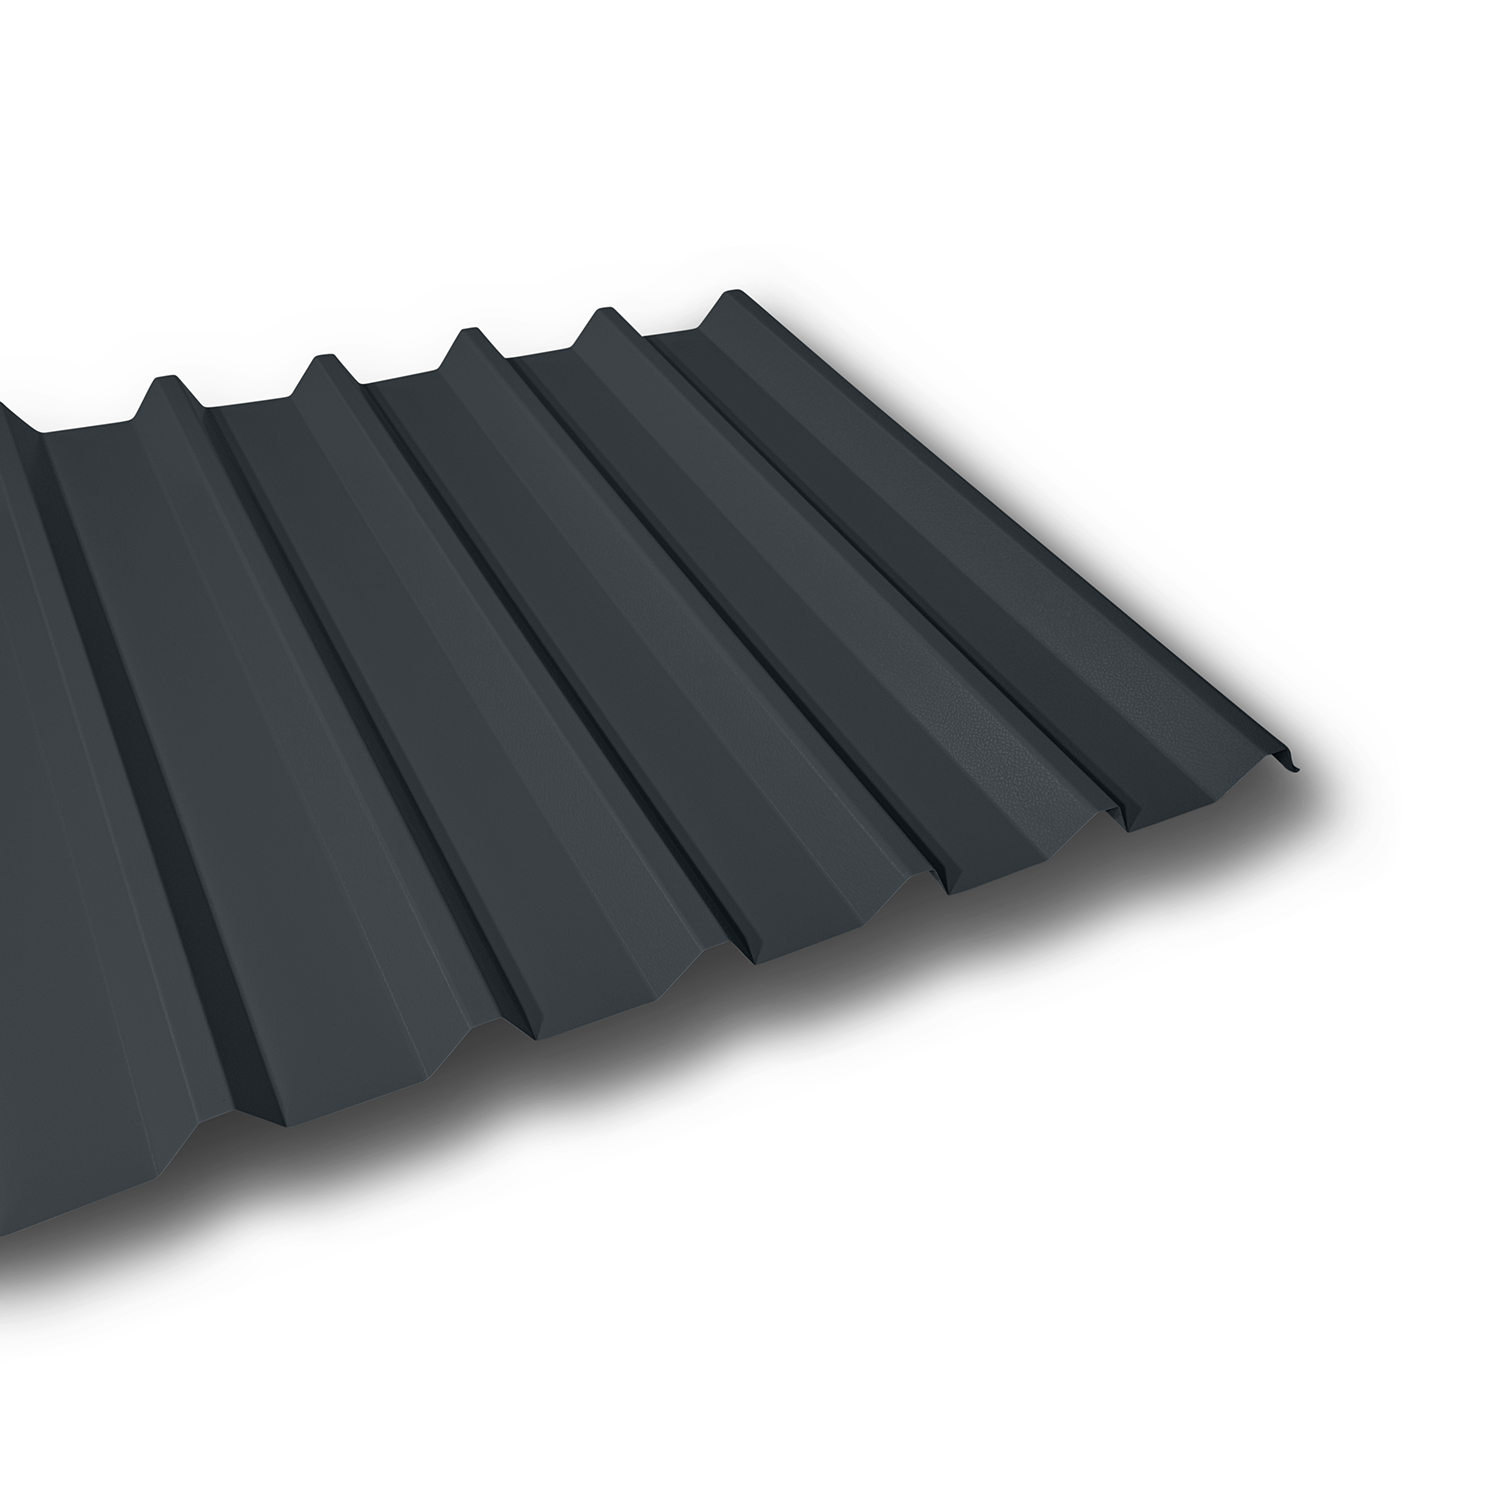
The RWA6 profile roof sheet is a versatile and industry-standard solution, featuring a 32mm depth and a 1000mm wide coverage. It is ideal for a wide range of roofing applications due to its durability and ease of installation. Below, we provide a step-by-step guide to ensure you install these sheets correctly for a long-lasting, weatherproof roof.
Start with a Square Layout
Before you begin attaching the sheets to the roof structure, it is crucial to ensure the first sheet is square with the roof frame. If the initial sheet is not aligned correctly, subsequent sheets will gradually fall out of square, affecting the overall installation. To avoid this, measure the distance from the bottom roof batten or purlin to both sides of the sheet. Adjust until the distances are equal, ensuring the first sheet is properly aligned.
Lay the Sheets in the Correct Direction
You can lay the sheets either from left to right or right to left, depending on your roof design. However, the key is to ensure the underlap side of each sheet is on the bottom. The next sheet should then overlap on top, ensuring a secure fit. This layering prevents water from seeping through the joints, keeping the roof waterproof.
Correct Fixing Position
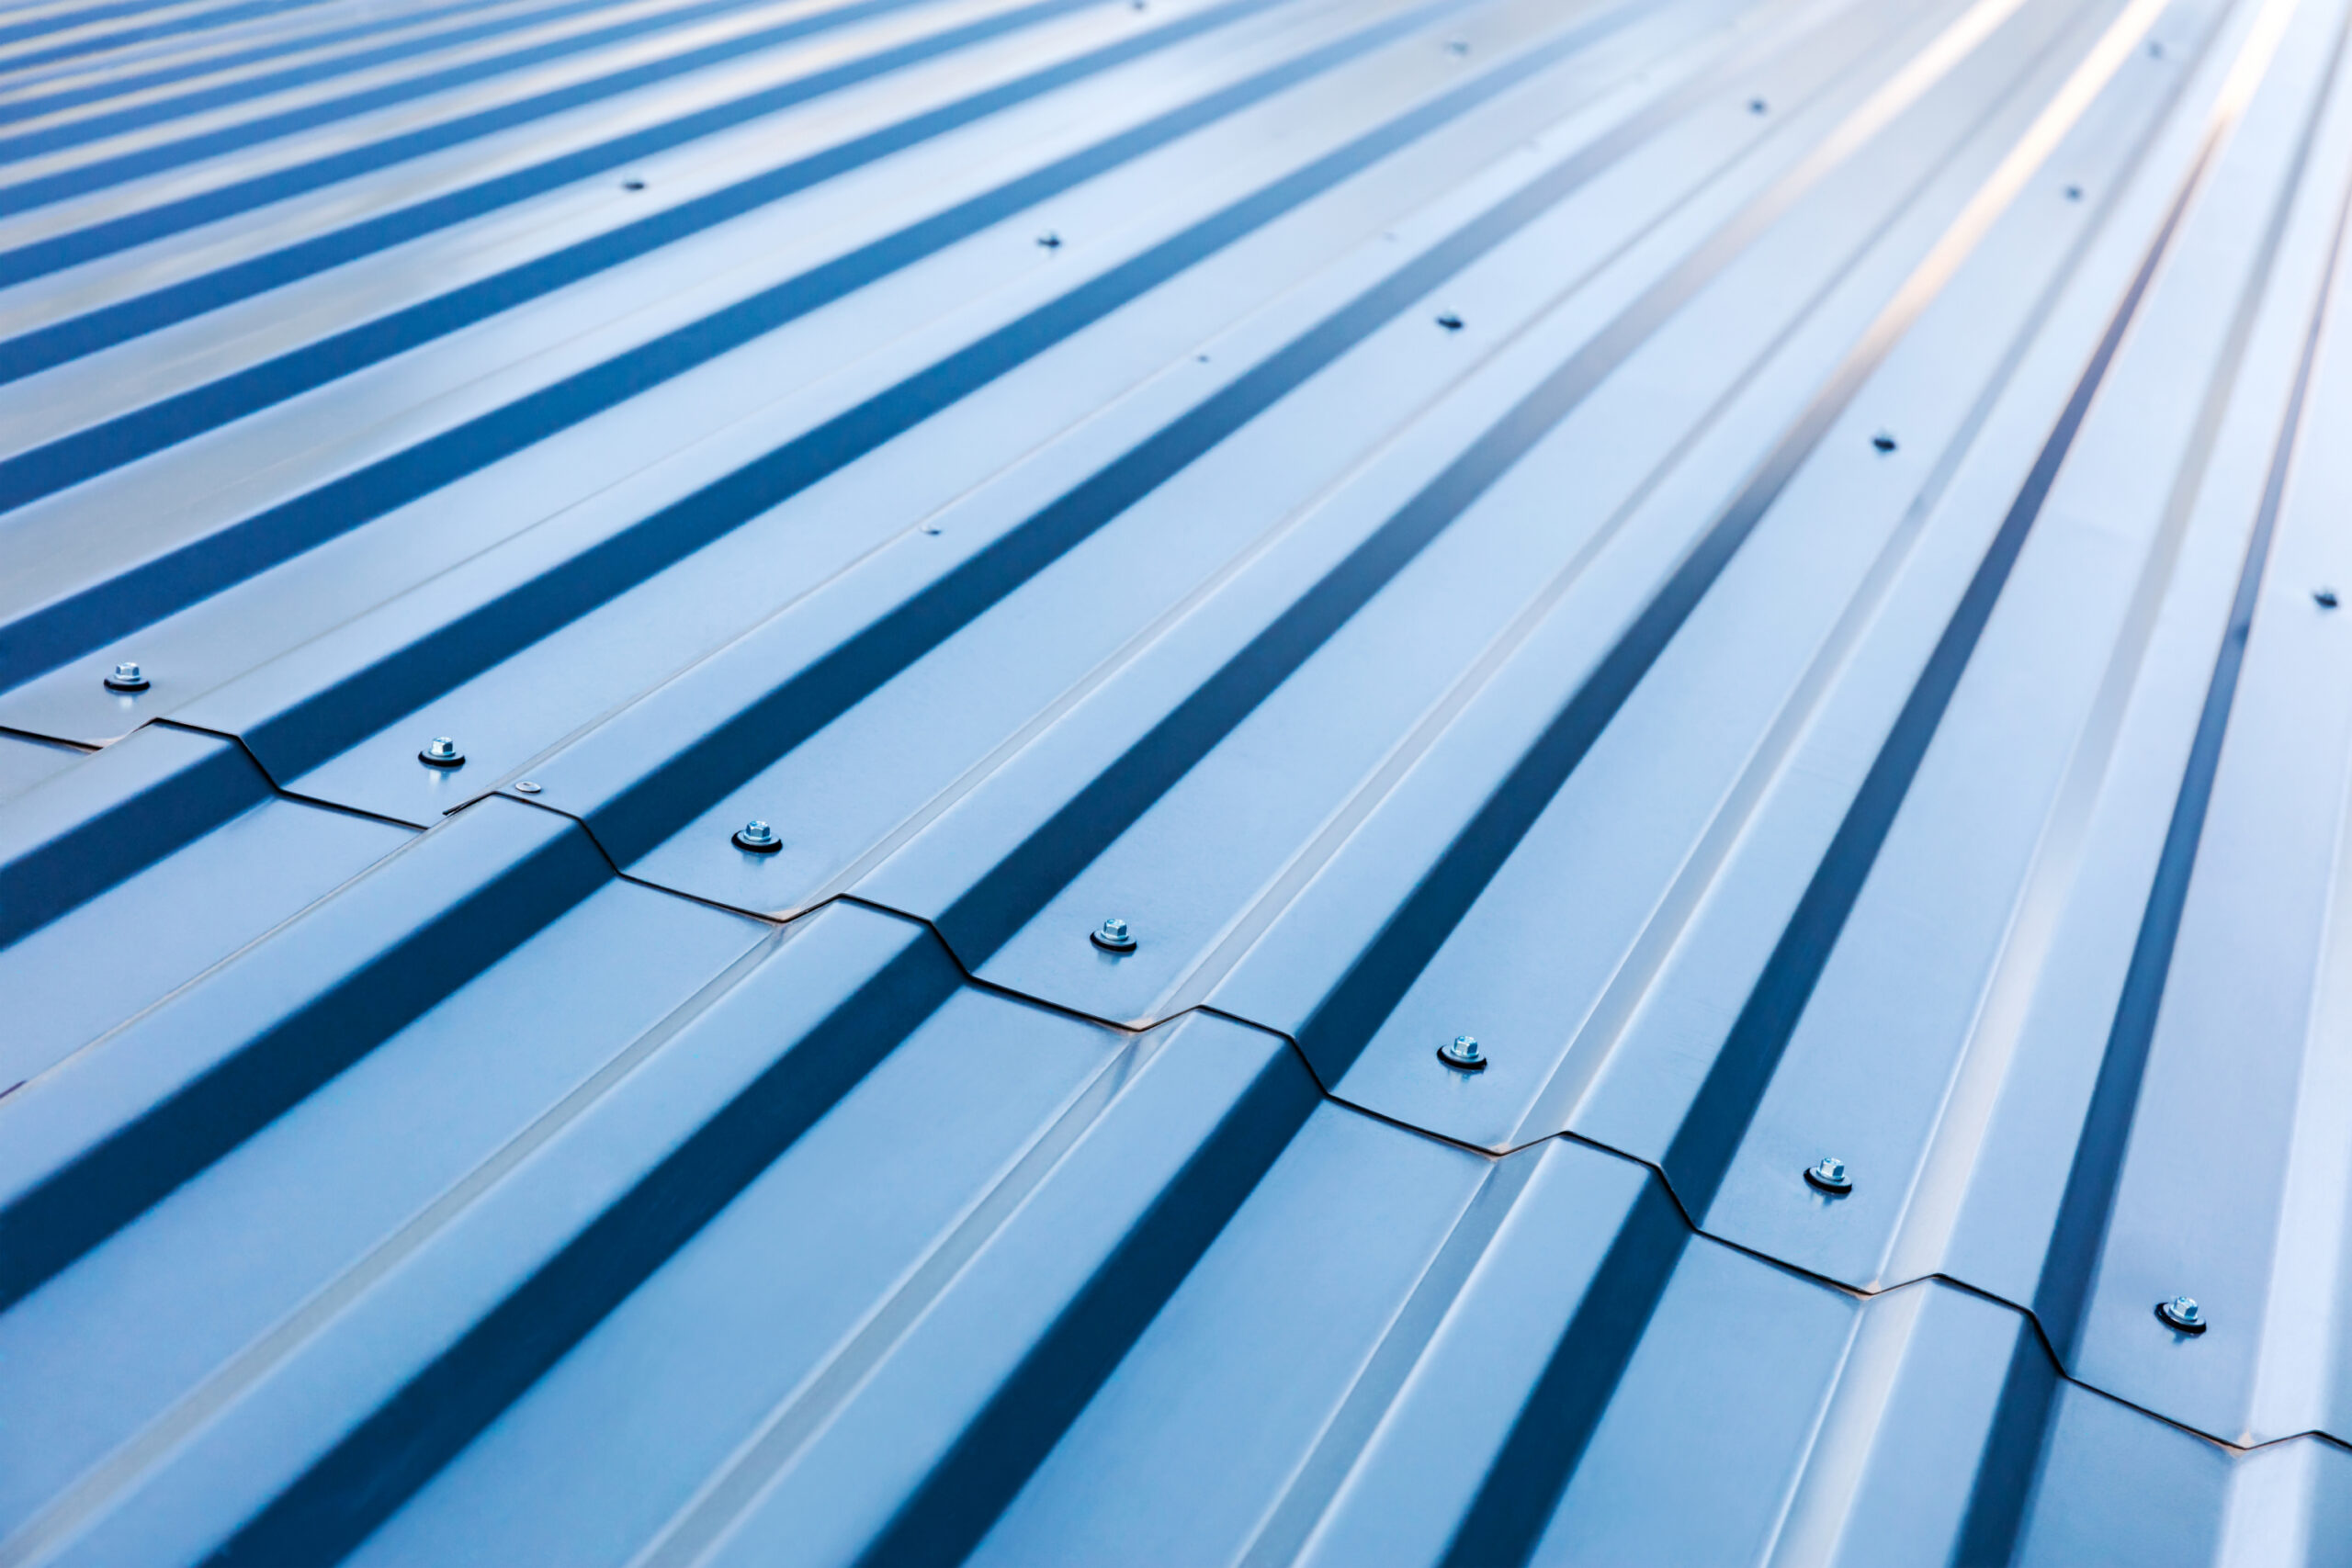
Contrary to what some might assume, the fixings should not be placed on the high points of the profile (also known as the crown). Instead, they should be fixed into the lower flat areas of the profile (the trough). Fixing into the trough provides a solid base for the screw and ensures that the EPDM washer seals tightly, preventing water ingress. Placing fixings on the crown can cause the metal to bend and may compromise the seal.
Use Galvanized Fixings
All fixings supplied by us are galvanized to prevent rust and corrosion over time. The EPDM washers that accompany the fixings ensure a tight, weatherproof seal, with the galvanized top of the washer offering additional protection against moisture.
Stitching Screws for Overlap Areas
Stitching screws should be used at the overlap areas of the sheets to further secure them. These screws should be placed at a minimum of 600mm intervals and fixed on top of the overlap’s crown. This provides added stability to the roof structure and prevents any movement between overlapping sheets.
Fixing and Screw Spacing
The spacing of the screws largely depends on your specific requirements, but as a general rule, we recommend a maximum batten or purlin spacing of 1400mm. Fixings should be applied in every other corrugation along the roof. However, at the top and bottom battens or purlins, every corrugation should be secured with fixings to provide additional strength at these critical points.
Conclusion
Following these guidelines will help ensure your RWA6profile roof sheet installation is both efficient and effective. A square starting point, correct fixing placement, and proper spacing of both screws and sheets are essential to achieving a durable, weather-resistant roof.
